As an Amazon Associate, I earn from qualifying purchases at no extra cost to you.
How to Clean Ninja Blender Rubber Gasket Like a Pro: Quick Steps
 ByZayyan
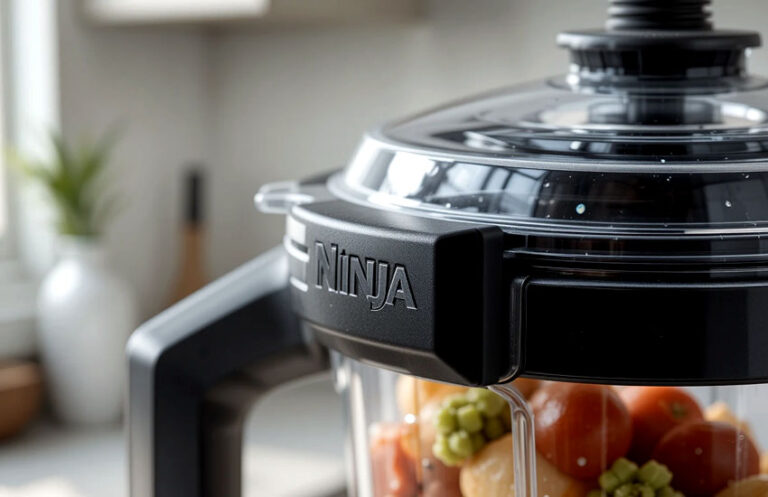
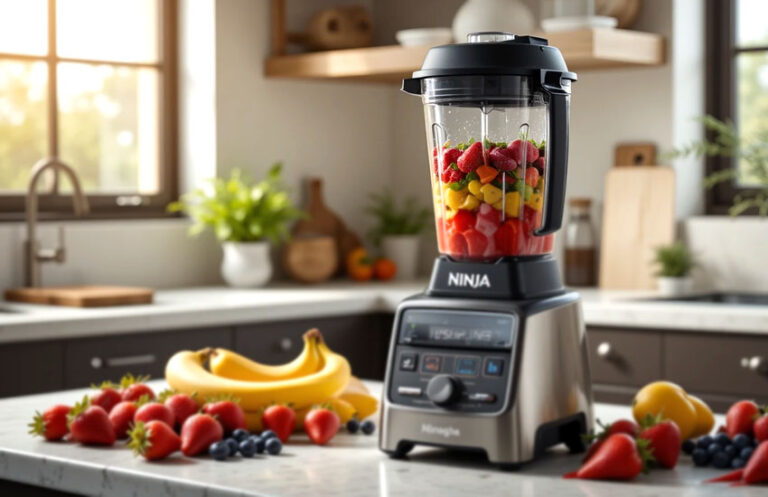
If you’re someone who loves smoothies, shakes, or even homemade nut butter, you know how essential it is to keep your Ninja blender in tip-top shape. One often-overlooked part of the blender is the rubber gasket, a small but mighty component that ensures your blender stays leak-free. Over time, however, food residue, stains, and buildup can get stuck on this little guy. In this post, we’ll walk you through how to clean the Ninja blender rubber gasket step by step, and make sure your blender is ready for action every time you use it.

Understanding the Importance of the Ninja Blender Rubber Gasket
Before we dive into the cleaning process, let’s take a moment to understand why the rubber gasket is so important. This little ring is a key player in ensuring your blender runs smoothly. It creates a tight seal between the lid and the blender base, preventing leaks and spills while you blend your ingredients.
Without it, you’d have a watery mess all over your countertop! It’s also designed to keep the blender’s motor and other components protected from moisture. But over time, this simple piece of rubber can accumulate grime, food particles, and even mold if not cleaned regularly. This is where regular maintenance and a good cleaning routine come in.
Why Cleaning the Gasket is So Important
Imagine whipping up a batch of creamy smoothies only to find a small leak at the bottom of your blender or noticing a funky smell coming from the gasket itself. Cleaning your Ninja blender’s rubber gasket prevents all of that. The last thing you want is for your favorite kitchen gadget to start showing signs of wear and tear due to improper maintenance.
Regularly cleaning the gasket helps maintain its flexibility and integrity, ensuring it continues to work effectively for years. Plus, it helps maintain the overall hygiene of your blender, making sure you’re always blending in a safe environment.
Step-by-Step Guide to Clean Ninja Blender Rubber Gasket
Now, let’s get down to the nitty-gritty of cleaning that rubber gasket. You might think it’s a complicated process, but it’s surprisingly simple. With the right tools and a little time, your Ninja blender will be gasket-glowingly clean in no time! Here’s how you do it:
Step 1: Disassemble the Blender
Before cleaning anything, the first step is always to disassemble the blender. Start by removing the blender jar from the base and separating the lid from the container. The rubber gasket will be located inside the lid, so you’ll want to take this off carefully. Don’t worry, it’s easy to pop out, but take note of how it’s positioned so you can put it back properly later. If your Ninja blender has a removable gasket, you can gently pull it out by hand or with a soft tool like a plastic spoon. Be careful not to damage the gasket or the lid during this process.
Step 2: Inspect the Rubber Gasket
Before you start cleaning, give the gasket a quick inspection. Look for any signs of wear or damage. If the gasket has cracks or pieces missing, it might be time for a replacement. A damaged gasket can lead to leaks or less effective blending. If everything looks good, you’re ready to begin cleaning!
Step 3: Wash the Gasket with Warm, Soapy Water
To get rid of general grime and food residue, the best method is using warm, soapy water. Simply fill a bowl or sink with warm water and add a few drops of dish soap. Place the gasket inside the water and let it soak for a few minutes. After soaking, use a soft sponge or cloth to gently scrub the gasket. Be sure to clean both sides of the gasket, paying extra attention to any grooves or ridges where food might have settled. Avoid using any abrasive scrubbers, as they could damage the rubber material.
Step 4: Use a Toothbrush for Stubborn Residue
If there’s stubborn residue on the gasket, a toothbrush is your best friend. Grab an old toothbrush with soft bristles and dip it into the soapy water. Gently scrub the gasket, paying extra attention to the tiny nooks and crannies. This step ensures that you remove any lingering food particles, oils, or other debris that may have accumulated over time. Be thorough but gentle, as you don’t want to stretch or tear the gasket.
Step 5: Rinse and Dry
Once you’ve scrubbed the gasket clean, it’s time to rinse it under cool water to remove any soap residue. Make sure all the soap is gone, as leftover soap can affect the taste of your next blend. After rinsing, pat the gasket dry with a clean towel. You can also leave it out to air dry for a while if you have the time. Just make sure it’s completely dry before reattaching it to the blender lid.
Step 6: Reassemble the Blender
Once the gasket is dry, it’s time to put it back into the blender lid. Make sure it sits securely in its groove and that it’s properly aligned. If the gasket was removed, carefully snap it back into place. Double-check that everything is securely in place before reattaching the blender jar to the base. You’re now ready to blend again!
Maintaining Your Ninja Blender Rubber Gasket
Now that your gasket is sparkling clean, you want to make sure it stays that way. Regular maintenance is key to extending the life of your gasket and keeping your Ninja blender running smoothly.
Clean Your Gasket Regularly
One of the best things you can do for your rubber gasket is to clean it regularly. Every few uses, give the gasket a quick wipe down with a damp cloth. This will help prevent buildup from forming, especially in areas like the ridges where food particles can hide. The more often you clean the gasket, the less work you’ll need to do when it comes to deep cleaning.
Dry the Gasket Properly
After each use, be sure to dry your gasket thoroughly before storing the blender. Leaving the gasket damp can lead to mold or mildew buildup, which can be harmful to your health. A dry gasket also helps maintain its shape and flexibility, ensuring it works well for future blends.
Store Your Blender Lid Properly
When you’re not using your blender, store it in a dry and cool place. Don’t leave the lid on the blender with the gasket still in place for long periods, as this can lead to pressure on the gasket, potentially causing it to stretch or lose its shape. Instead, store the lid and gasket separately in a safe spot.
Replace the Gasket When Necessary
If you notice any damage to the gasket, such as cracks or breaks, it’s time to replace it. A damaged gasket will no longer create a secure seal, leading to potential leaks and a less effective blender. Fortunately, replacing a gasket is relatively inexpensive and simple. Check the manufacturer’s guidelines for ordering the correct replacement gasket for your Ninja blender model.
Troubleshooting Common Rubber Gasket Issues
Sometimes, despite your best efforts, you may encounter a few common issues with the rubber gasket. Let’s go over some of the most common problems and how to fix them.
Leaks Around the Gasket
If your blender starts leaking around the gasket, there may be food particles stuck in the grooves, preventing a proper seal. Follow the cleaning steps mentioned earlier to remove any buildup. If the gasket looks worn out or has lost its flexibility, consider replacing it.
Unpleasant Smell
If your gasket starts smelling funky, it could be due to trapped food particles, moisture, or mold. Thorough cleaning should eliminate most odors. However, if the smell persists, consider soaking the gasket in a mixture of baking soda and water. Baking soda is a natural deodorizer and can help eliminate lingering smells.
Difficulty Removing the Gasket
Sometimes, removing the gasket can be tricky, especially if it’s stuck in place. If this happens, try using a soft tool like a plastic spoon to gently lift it out. Avoid using sharp objects that could damage the gasket.
I hope this guide helped you understand how to clean and maintain your Ninja blender rubber gasket with ease. A little regular maintenance goes a long way in extending the life of your blender and ensuring it works properly every time. With these simple tips, you’ll be able to enjoy perfectly blended smoothies and other recipes without worrying about leaks or grime!
Frequently Asked Questions
Is it necessary to remove the rubber gasket from the lid every time I clean it?
No, you don’t have to remove the gasket every time. Simply wiping it down with a damp cloth between uses is usually enough. However, a deep clean with soap and water every few uses will keep it in good condition.
Can I clean the gasket with vinegar?
Yes, vinegar is a natural cleaning agent that can help remove stubborn residue. Just make sure to rinse it thoroughly afterward to avoid any lingering vinegar smell.
Do I need to replace the gasket if it’s stained?
Staining doesn’t necessarily mean the gasket needs replacing. However, if the stains are persistent or the gasket starts to deteriorate, it may be time for a replacement.
Is it okay to use bleach to clean the gasket?
Bleach is too harsh for rubber and may cause it to break down over time. Stick to milder cleaning agents like dish soap or vinegar for a safer clean.
Can I put the gasket in the dishwasher?
Most Ninja blender gaskets are dishwasher-safe, but it’s always best to check your user manual to confirm. Hand cleaning is often gentler on the rubber.
Do I need to lubricate the gasket after cleaning it?
No lubrication is necessary. The gasket should maintain its shape and flexibility with proper cleaning and drying.
Is there a special brush I should use for cleaning the gasket?
A soft-bristled toothbrush works best for cleaning the gasket, as it allows you to get into the small grooves without damaging the rubber.
Can I use essential oils to deodorize the gasket?
Yes, a few drops of essential oil like lemon or lavender can help deodorize the gasket. Just ensure the gasket is clean and dry first before applying oils.