As an Amazon Associate, I earn from qualifying purchases at no extra cost to you.
How to Air Fry in Kitchenaid Microwave (the Smart Way)
 ByZayyan

I stared at my new KitchenAid convection microwave for a week, thinking it was just for reheating leftovers. Then I found the air fry mode, and my counter space suddenly opened up. You do not need a separate bulky box to get crispy wings or perfect fries. I will show you how to master this hidden feature so you can stop cluttering your kitchen.
You must select the dedicated Air Fry mode on your control panel to get the right results. Do not confuse this with standard convection or standard microwave settings. Place your food on the included elevated rack, set your temperature to match a standard air fryer recipe, and watch your food closely because these built-in units often run hotter than those countertop gadgets.
Understanding the Convection Microwave Setup
Most people think their microwave is only for heating soup, but these modern machines are actually small ovens. Knowing how the internal fan moves heat is the key to success.
The Heating Element
The heating element in your KitchenAid microwave acts exactly like a traditional oven, but it is much smaller. Because the space is tight, the heat builds up fast. You might find that your frozen chicken tenders finish three minutes earlier than the box says. Keep an eye on the clock during those first few tests to prevent accidental burning of your dinner.
The Metal Rack
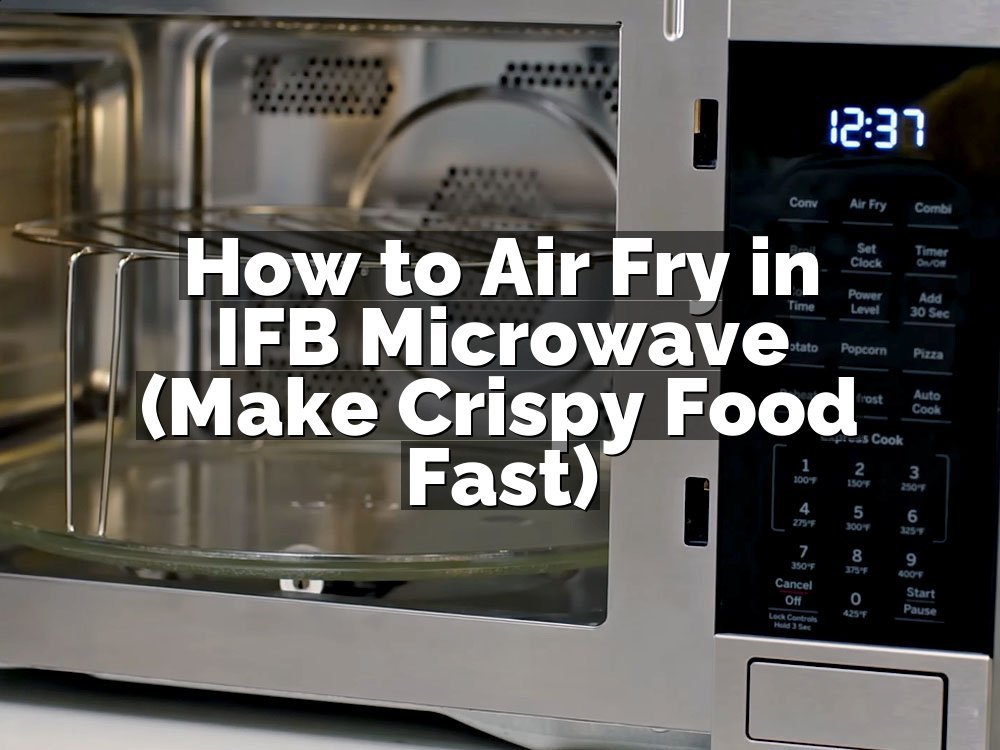
Always use the metal rack that came with your unit. It lifts the food off the glass turntable, which allows air to flow underneath. Without this lift, the bottom of your food stays soggy while the top gets dark. I once made the mistake of putting wings directly on the glass. They came out like rubber, which was not a great experience.
Internal Air Flow
The fan in these units is powerful, so it blows hot air directly onto the food surface. This is why you get that crunch. If you crowd the rack, the air cannot reach the middle pieces. I keep my food in a single layer with at least an inch of space between items. This ensures everything cooks at the same speed.
Preheat Requirements
Do not ignore the preheat cycle. Even if the microwave beeps that it is ready, the glass walls are often still cold. I let mine run for an extra two minutes before putting the food inside. This makes a huge difference for breaded items. If you skip this, the breading will often soak up oil and stay soft.
Temperature Calibration
Every kitchen has its own personality, and your microwave is no different. I found that my unit runs about twenty degrees hotter than the digital display suggests. If a recipe calls for 400 degrees, I set mine to 380 instead. Always check your food early. It is better to add time later than to try and scrape off burnt crust.
Safety Precautions
Metal is usually a big no-no in microwaves, but the rack provided by the manufacturer is safe. Actually, let me back up a second. Only use the specific rack that came in the box. Do not try to use your own metal pans or aluminum foil. These can cause sparks that might damage the internal sensors of your expensive appliance.
You should always keep a few things in mind when using this mode for the first time. It is a tool, not a miracle worker.
- Use the provided rack.
- Never use foil.
- Keep space between food.
- Preheat for better results.
- Check food early.
- Adjust for high heat.
Mastering Air Fry Settings and Procedures
My KitchenAid microwave has a specific button for air frying, which makes things simple. You just need to follow a few specific steps to get the best crunch every single time.
Select the Air Fry Mode
You need to navigate the menu until you see the specific icon for air frying. Some older models use a combination of convection and microwave power, while newer ones just use the fan and element. Make sure you are not in the standard microwave mode, or you will end up with soft, steamed food instead of crispy snacks.
Once you pick the mode, the display will prompt you for a temperature. I usually stick to 375 degrees for most snacks. If you try to go higher, the outside will burn before the inside finishes. This is a common mistake when air frying for the first time. Stay patient, keep the heat steady, and you will get much better results.
The machine will start to count down the preheat time on the screen. Do not put your food in yet. Wait for the beep, then open the door, and place your items on the rack. The air inside needs to be hot from the second you drop the food in. This jumpstart is what creates that golden, crispy exterior we all love.
Arrange Food on the Rack
Take your food and spread it out on that metal rack. I like to use tongs so I do not have to touch the food too much. Keep the pieces from touching each other. If you overlap them, the air cannot get around the edges. This means you will have to flip them later, which takes more work.
I noticed that if I leave about an inch of space around every fry or wing, the air moves better. You get a consistent crunch on all sides without having to babysit the machine. If you are cooking a large batch, just do it in two separate rounds. It is faster to cook two perfect batches than one giant, soggy mess.
Try to keep the food towards the center of the rack. The air flow is strongest right in the middle of the cavity. If you place items too close to the door or the back wall, they might cook unevenly. Just look at the rack and imagine where the air is coming from, and you will get the best results.
Set the Correct Time
Set your timer for about five minutes less than what the recipe suggests. You can always add time, but you cannot fix food that is already charcoal. I like to check my food halfway through the cycle. If it looks pale, let it go for the full time. If it looks brown, pull it out early.
When the timer goes off, let the food sit for one minute inside the microwave. This allows the internal moisture to settle, which keeps the coating crispy. I have burned my mouth plenty of times by eating too fast. Waiting just sixty seconds makes a huge difference in the texture and the temperature of the finished dish.
Be careful when you pull the rack out. It will be very hot. Use an oven mitt, and do not try to grab the rack with a towel. The metal gets surprisingly hot, and I have had a few close calls in the past. Always have your plate ready to go before you open that door to save time.
Flip the Food Once
Even with good air flow, flipping your food once is usually a good idea. Around the halfway mark, pull the rack out and turn your items over. This ensures the bottom gets just as crispy as the top. If you are making thin fries, a quick shake of the basket or rack works well.
If you are cooking wings, a pair of silicone-tipped tongs is perfect for this job. They grip the chicken without tearing the skin. If you tear the skin, the juices leak out, and the wings lose their crunch. Keep it gentle, flip quickly, and get the rack back in the microwave to keep the internal heat high.
I always notice that the pieces near the center of the rack cook faster than the ones near the edge. When I flip them, I try to swap the positions. Move the edge pieces to the middle and the middle ones to the edges. This little trick ensures everything finishes at the same time and looks consistent on the plate.
Use a Little Oil
You do not need much, but a light spray of oil helps. I use a refillable oil mister for my snacks. A light mist of avocado oil adds flavor and helps the breading get golden. Do not drench the food, though. If you use too much, it will drip onto the glass below and start to smoke.
A light coating is all you need to get that professional finish. I found that if I skip the oil, the food looks dull and tastes a bit like dry cardboard. A quick spritz changes everything. Just be careful not to spray while the food is inside the microwave. Take the rack out first, spray it, then put it back.
Keep your oil spray away from the heating element. If you get oil on the metal element, it will smoke the next time you turn the unit on. I usually put a piece of parchment paper on my counter, place the rack on it, and then spray. It keeps my kitchen clean and prevents any unwanted smells during the cooking process.
Monitor the Cooking Process
The glass window on your microwave is there for a reason. Use it. I watch the color of my food during the last few minutes of the cycle. When it turns a deep golden brown, it is usually ready. If you see it getting dark brown, turn the machine off immediately and remove the rack.
If you hear any weird popping sounds, open the door and check. Sometimes, a piece of food might be too light and gets blown around by the fan. This is a common issue with light vegetables like kale or thin slices of zucchini. If this happens, just weigh the food down or remove the tiny pieces before they burn.
Trust your eyes more than the timer. Digital displays are just estimates. My KitchenAid microwave is reliable, but it does not know if I put in ten wings or twenty wings. The amount of food changes how fast it cooks. Watching the process allows you to adjust on the fly and ensures you never end up with a burnt dinner.
- Use the dedicated air fry button.
- Always use the provided rack.
- Preheat for better results.
- Spray food with light oil.
- Flip items halfway through.
- Rely on your eyes, not the timer.
You will quickly get the hang of it once you try it a few times. The key is consistent heat and proper spacing on the rack.
Can I Use My Own Bakeware?
You might want to use your favorite baking sheet, but that is usually a bad idea. The air fry mode relies on the rack to circulate heat around the food. If you put a solid pan on the rack, you block that air flow. It defeats the whole point of air frying.
I tried using a small metal pan once. The bottom of my chicken stayed wet, and the top burned. It was a mess. Stick to the provided rack for the best texture. If you must use a pan, make sure it is perforated, but even then, the rack is always the better choice.
Actually, let me back up a second. If you are cooking something messy like marinated meat, place a piece of parchment paper or a silicone mat directly on the glass tray below the rack. This catches the drips. It keeps your microwave clean without blocking the air flow around your food.
Always double-check your manual to see what materials are allowed. Some older microwaves have sensors that get confused by certain types of metal or heavy ceramic. Sticking to the factory-provided rack is the safest way to avoid any technical glitches or damage to your appliance.
- Never use solid metal pans.
- Avoid glass bakeware in air fry mode.
- Use parchment on the bottom for drips.
- Ensure the rack is clean before use.
- Do not block the fan vents.
- Stick to manufacturer accessories.
How Do I Clean the Unit After Air Frying?
Cleaning the microwave after air frying is not as hard as it sounds. Grease is the main enemy here. If you let it sit, it becomes sticky and hard to remove. I always wipe down the walls while the unit is still warm. Use a damp cloth with a little bit of mild dish soap.
The rack is the part that gets the dirtiest. I soak it in the sink with hot, soapy water for ten minutes. Most of the time, the grease slides right off. If it is stubborn, a soft scrub brush works wonders. Do not use steel wool, or you will scratch the finish on the rack.
If you notice a smell, run a bowl of water with lemon slices inside for two minutes. The steam cleans the walls, and the lemon takes away any lingering grease odors. It is a quick trick that keeps my kitchen smelling fresh. I do this about once a week to keep everything in top shape.
I check the fan cover on the back wall periodically. Sometimes crumbs get stuck there. I use a soft, dry brush to gently sweep them away. Keeping these vents clear ensures the air fry mode works efficiently and prevents any fire hazards. A little maintenance goes a long way with these machines.
- Clean after every use.
- Soak the rack in hot water.
- Use lemon to remove odors.
- Avoid harsh abrasive cleaners.
- Wipe walls while still warm.
- Brush crumbs from air vents.
Is It Possible to Fry Frozen Foods?
You can absolutely fry frozen foods, and it is honestly where this mode shines. Frozen fries, nuggets, and breaded fish are perfect for the air fry setting. They come out much crispier than they ever would in a standard microwave. Just remember to add a few minutes to the total time for the thawing process.
I do not bother preheating as much when I am in a rush with frozen goods. I just throw them on the rack and add three extra minutes to the timer. It works fine for things like tater tots or frozen onion rings. If you are cooking thicker items like chicken breasts, definitely preheat first.
Don’t stack the frozen food. It will stick together as it thaws, which creates a clump of undercooked mush. Keep them spread out. Even if it takes two rounds, you will be happy with the results. Quality is always better than speed when you are cooking at home.
I find that frozen foods are often pre-oiled, so you do not need to add any extra spray. Just put them on the rack and let the machine do the work. It is the fastest way to get a crunchy snack on the table when you are tired after a long day of work.
- No need to thaw first.
- Spread food in one layer.
- Add time for the defrost phase.
- Most frozen foods need no extra oil.
- Flip for even crisping.
- Use the rack to prevent sogginess.
Does Air Frying Affect the Microwave Lifespan?
Using the air fry mode does not hurt your microwave if you use it correctly. It is designed to handle the heat. The only way you might shorten the life of the unit is by ignoring the buildup of grease. If you let fat sit on the heating element, it will eventually burn out.
I have used mine for over two years now, and it still works perfectly. The secret is regular cleaning and never overloading the rack. Treat it like an oven, not a trash can. If you keep the interior clean, the internal components will stay cool and function for a long time.
Avoid running the air fry mode for hours at a time. It is meant for snacks and quick meals, not for roasting a whole turkey for four hours. If you need to cook for a huge crowd, use your real oven. Using the microwave for heavy, long-term cooking is where you might run into issues.
Also, make sure the microwave has enough space around it for air to move. If you bury it in a tight cabinet, it will overheat. Mine sits on the counter with plenty of clearance on all sides. This helps the fan move heat away from the electronics and keeps the machine running strong.
- Clean out grease regularly.
- Provide proper ventilation space.
- Limit long cooking sessions.
- Use only as directed by the manual.
- Check the door seal for debris.
- Avoid extreme, constant heavy use.
Final Thoughts
I hope this guide helps you feel more confident using your KitchenAid microwave for more than just popping popcorn. It is a powerful tool once you learn the quirks of the fan and the rack. Start small with some fries, watch how the heat affects the texture, and soon you will be air frying everything in sight. It really is a game-changer for quick, crispy meals without the mess of deep frying.
| Feature | Air Fry Setting | Standard Microwave |
|---|---|---|
| Texture | Crispy and golden | Soft and damp |
| Heat Source | Convection element | Magnetron waves |
| Cook Time | Longer | Very fast |
| Best Food | Fries and wings | Soup and veggies |
| Rack Used | Elevated metal rack | Glass tray only |
| Preheating | Required | Not required |
| Result | Roasted finish | Steamed finish |
| Oil Needed | Small amount | None |
| Food Prep | Single layer | Any arrangement |
| Cleanup | Wipe and soak rack | Wipe interior |
Frequently Asked Questions
Is It Safe to Use Metal Racks in the Microwave?
Yes, it is safe as long as you use the specific metal rack that came with your KitchenAid microwave. The machine is designed to handle this accessory when in convection or air fry mode. Never use your own random metal baking pans, as those can cause dangerous sparks.
Can I Air Fry Without Preheating?
You can, but the results will not be as crisp. Preheating ensures the cooking chamber is at the right temperature before your food enters. This prevents the breading from absorbing too much moisture, which is the main cause of soggy results in air fryers.
Are the Results the Same As a Countertop Air Fryer?
The results are very similar, though the microwave might take a minute or two longer to finish. Because the cavity is larger than a dedicated air fryer, the air takes a bit more time to circulate effectively around the food to create that perfect golden crust.
Do I Need to Flip My Food?
Yes, flipping your food halfway through the cooking cycle is highly recommended. Even with a strong fan, the bottom of the food will not get as crispy as the top unless you turn it over. This simple step ensures an even crunch on both sides.
Can I Cook Raw Meat in the Air Fryer?
Absolutely. Air frying is just a form of convection roasting, which is perfect for chicken wings, pork chops, or thin steaks. Just ensure the meat reaches a safe internal temperature by using a digital meat thermometer before you take it out of the machine.
Should I Add Extra Oil?
A light mist of oil helps achieve a better crunch and a nice brown color on breaded items. You do not need to drown the food, but a quick spray with an oil mister makes a noticeable difference. Just be careful not to get oil on the heating element.
Will My Microwave Smell After Air Frying?
It might smell like the food you cooked, which is normal. If the smell stays too long, place a bowl of water with a few lemon slices inside and run the microwave for two minutes. The steam and citrus will freshen the interior immediately.
How Often Should I Clean the Fan Cover?
You should check the fan cover on the back wall every few weeks. If you see crumbs or grease buildup, use a soft, dry brush to gently clean it. Keeping the fan cover clear is vital for the airflow that makes the air fry mode work correctly.