As an Amazon Associate, I earn from qualifying purchases at no extra cost to you.
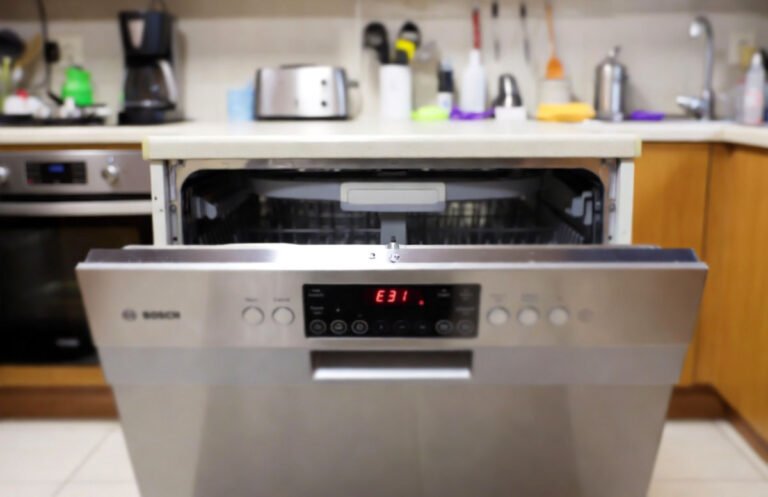
Bosch Dishwasher Error Code E19: How to Fix It Like a Pro
 ByZayyan
I remember hosting a huge Thanksgiving dinner when my own dishwasher suddenly flashed the Bosch dishwasher error code e19. There I was, covered in gravy and staring at a mountain of greasy plates while the machine just sat there mocking me. It really felt like the universe was playing a prank on my holiday.
To get your machine back in action, you should start by safely turning off the power. Then, you need to pull the unit out to reach the right side panel. Once you get inside, you must locate the heat exchanger and the large solenoid valve. Carefully swap out the old valve for a brand new one to fix the circuit. After you put the panels back, run a quick test cycle to make sure the error is gone.
Why is My Bosch Dishwasher Error Code E19 Showing This Specific Code?
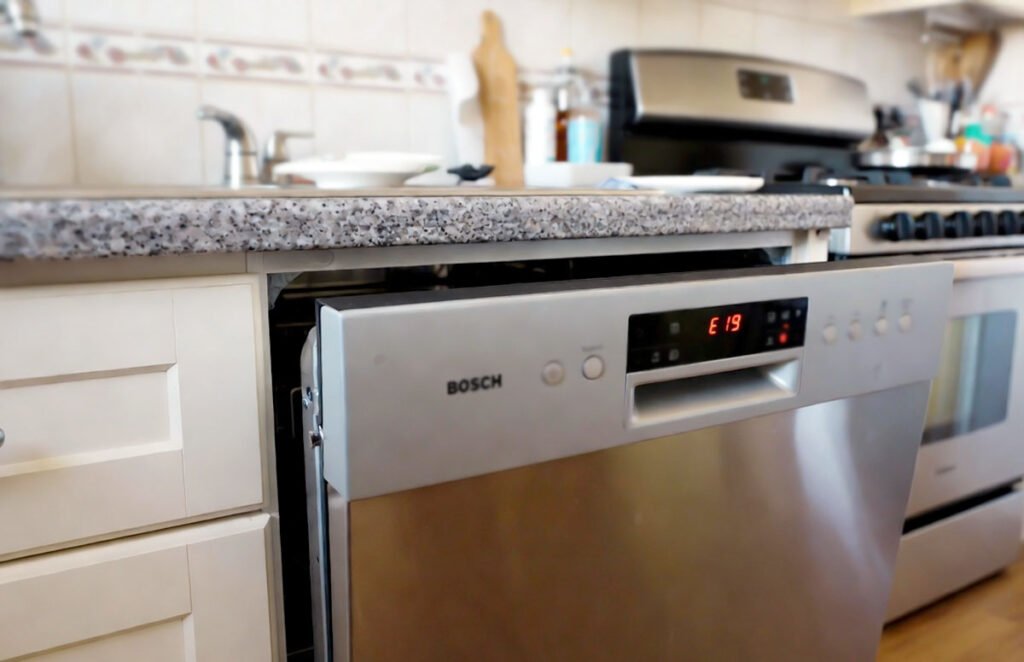
The e19 error usually happens because the solenoid valve on your heat exchanger has burned out. This little part is responsible for letting water into the tub. When it stops working, the control board gets very confused. It is essentially a cry for help from your machine. You might notice the cycle stops right at the beginning or the water refuses to enter the appliance.
This problem is quite common in Bosch models that use a heat exchanger system. Over years of use, the internal coil in the valve can degrade due to heat. It is not a sign that your whole dishwasher is trash. Instead, it means a specific electrical component has reached the end of its life. Most of the time, this is a hardware failure rather than a simple software glitch.
Sometimes, the wiring leading to that valve can also be the culprit. However, in my twenty years of fixing these things, the valve itself is the winner nine times out of ten. You should treat this as a mechanical part failure. Once you swap that part, the computer realizes everything is functional again. This allows the wash cycle to proceed as it normally would.
- The solenoid valve has an internal electrical short.
- The heat exchanger cannot release water into the tub.
- Electrical signals from the control board are being blocked.
- The drain pump might be triggered as a safety measure.
- The dishwasher stops mid-cycle to prevent internal overheating.
- A faulty wire harness is preventing the valve from opening.
The Step-by-Step Guide to Fixing Your Bosch Dishwasher Error Code E19
Safety First and Powering Down
Before you touch a screwdriver, you must unplug the machine from the wall. If your dishwasher is hardwired, go to your breaker box and flip the switch. Working on an appliance with live power is incredibly dangerous. I always tell my friends to double check the display first. Make sure the lights stay off so you know the power is truly cut.
Next, you need to turn off the water supply valve under your sink. This prevents any accidental floods while you are moving the unit around. It is a good idea to lay down some old towels too. You will likely have a bit of water spill out during the process. Keeping your kitchen floor dry is a top priority for any home repair.
Once the power and water are dealt with, you can unscrew the mounting brackets. These hold the dishwasher to the underside of your counter. Gently pull the unit forward just enough to see the side panels. You do not need to pull it all the way out. Just give yourself enough room to work comfortably without straining your back or the hoses.
- Disconnect the power cord from the outlet.
- Turn the water supply valve clockwise to shut it off.
- Remove the mounting screws from the kitchen cabinetry.
- Place towels down to catch any residual water leaks.
Removing the Side Panel
To find the e19 culprit, you need to remove the right side panel. There are usually a few screws at the front and back of the frame. Use a Torx T20 screwdriver because that is what Bosch almost always uses. Be careful not to strip the heads of the screws. Use steady pressure and make sure the tool is seated properly before you turn.
Once the screws are out, the panel should slide slightly or pop off. Set the panel aside in a safe place where it won’t get bent. You will now see a large, flat plastic container called the heat exchanger. This part holds water to help with the drying process. This is exactly where our main target lives near the bottom of the unit.
Take a moment to look at the wiring and the general state of the parts. You are looking for a small, square plastic piece with two wires attached. This is the solenoid valve that has likely caused your error code. Make sure there are no obvious signs of leaking water in this area. Check for any burnt smells or melted plastic before you move forward.
If you see a lot of gunk, you might want to wipe it down. It is always better to work on a clean machine. Just be careful not to pull on any of the thin plastic hoses. They can be brittle if your dishwasher is several years old. If they crack, you will have a much bigger mess to deal with later on.
- Locate the Torx screws holding the right panel.
- Carefully slide the metal panel off the frame.
- Store the panel and screws in a safe location.
- Inspect the internal plastic components for visible damage.
Accessing the Solenoid Valve
The solenoid valve is tucked into the bottom section of the exchanger. It is held in place by a simple locking mechanism. Before you touch it, take a quick photo of the wires. This ensures you know exactly which wire goes where later. Having a visual reference is a classic pro tip that saves a lot of time and stress.
Gently pull the electrical plug away from the valve by squeezing the tabs. Do not pull on the wires themselves as they can snap. If the plug feels stuck, you can use a small screwdriver to pry it. Once the wires are disconnected, you can focus on removing the valve. It is finally time to get that broken part out of your dishwasher.
To remove the valve, you typically rotate it a quarter turn. It might feel a bit tight because there is a rubber seal inside. If it resists, just apply steady and even pressure rather than jerking it. You do not want to crack the large plastic heat exchanger. Breaking that would be a much more expensive mistake to fix during this process.
Once the valve pops out, have a rag ready to catch the water. A small amount will inevitably leak out of the hole. This is perfectly normal and nothing to worry about. Look at the old valve and check for any cracks or rust. Even if it looks fine, the internal electrical coil is likely what failed and caused the code.
- Take a photo of the wire connections first.
- Unplug the electrical connector from the valve body.
- Twist the valve a quarter turn to unlock it.
- Wipe up any small water spills with a rag.
Installing the New Part
Take your brand new solenoid valve and check the rubber seal. If the seal is crooked, the machine will leak on your floor. Align the tabs on the valve with the slots on the exchanger. It should slide in smoothly without you needing to force it. Make sure it feels flush against the plastic before you try to lock it.
Once it is seated, give it a firm twist to lock it into place. You should feel a distinct click when it reaches the right spot. This part is vital because the water pressure is quite high. A loose valve is the number one cause of leaks after a repair. Taking an extra second to check the lock will save you a headache later.
Now, grab those wires you photographed earlier and plug them back in. They should click firmly into place so they don’t vibrate loose. Double check your photo to make sure you didn’t swap anything. Usually, the plug only fits one way, but it is better to be safe. It feels great to see the new part sitting in its home.
Check the area one last time for any tools or rags. You want the internal cavity to be completely clear before closing it up. It is also a good idea to check the nearby hoses. Make sure you didn’t knock any of them loose while you were working. Everything should look tight and tidy before you move on to the next phase.
- Verify the rubber O-ring is in the correct spot.
- Insert the new valve and twist it to lock.
- Reconnect the electrical wires until they click.
- Clear the area of any tools or stray moisture.
Reassembling the Dishwasher
Pick up the metal side panel and align it with the tracks. It can be a little fiddly to get the top edge right. Take your time and don’t force it or you might hear rattles. Once it is flush, replace the Torx screws you saved in your bowl. Tighten them firmly but do not overdo it or you might strip the metal.
Slide the dishwasher back into the cabinet space very carefully. Avoid pinching the drain hose or the power cord while you push. If you feel resistance, stop and look behind the machine. I have seen many people break a hose by shoving the unit too hard. Once it is in place, secure the mounting screws back into the counter.
Go back under the sink and turn the water supply back on. Watch the area you just worked on for a minute for leaks. It is much easier to fix a leak now than later. If everything stays dry, you are ready for the final electrical step. This is the moment where you get to see your hard work pay off.
Finally, plug the power cord back into the wall outlet. You should hear the dishwasher beep or see the lights turn on. This is the moment of truth to see if the error is gone. It is always a relief to see the normal clock display. Those scary red letters should be a thing of the past for your kitchen.
- Reattach the side panel and tighten the screws.
- Gently slide the unit back into the cabinet.
- Turn the water supply back on and check for leaks.
- Restore power and check the display for errors.
Testing the Repair
Now that the machine is back home, you should run a test. I usually recommend a short cycle since it is very quick. Watch the display carefully during the first five minutes of the cycle. This is usually when the dishwasher tries to fill with water. If the e19 code was going to appear, it would happen right now.
Listen for the sound of water entering the machine through the valve. It should be a steady, smooth sound without any strange clicking. If the cycle continues past the filling stage, you have successfully fixed it. Your Bosch is now communicating correctly with the new solenoid. The brain of the machine is finally happy with the electrical results.
Let the cycle run all the way to the end to be certain. Sometimes an error can pop up during the final drain or rinse. While it runs, check under the sink one last time for moisture. If it stays bone dry, you can officially celebrate your great handiwork. You have conquered the repair and saved yourself a lot of money.
You just saved a few hundred dollars on a professional service call. Fixing things yourself is about the pride of knowing your home. Now you can get back to your life and let the machine work. Grab a coffee and relax because you have tackled the error like a pro. Your dishwasher is ready for another round of dirty plates.
- Select a short wash cycle for the initial test.
- Listen for the water filling the tub properly.
- Monitor the display for any recurring error codes.
- Verify the floor remains dry throughout the cycle.
Will This Repair Void My Warranty?
If your dishwasher is still under warranty, opening the panel might void it. Most companies want their own technicians to handle any internal repairs. You should check your purchase date and the paperwork before you start. If you are covered, a free repair is always the better way to go. Do not risk your free coverage if you don’t have to.
However, many people encounter this error long after the warranty has expired. In that case, doing it yourself is a fantastic way to save money. Since you are just replacing a part, you aren’t doing permanent damage. It is a straightforward swap that most homeowners can manage with some patience. You are simply restoring the machine to its original factory condition.
The main risk comes from accidental damage while you are moving the unit. If you crack the exchanger, you might need a more expensive fix. Just be gentle and follow the steps and you will be fine. Most of these machines are built to be serviced by humans. As long as you use the right parts, the machine will work perfectly.
- Manufacturer warranties usually require certified tech service.
- Third-party extended warranties have different sets of rules.
- Opening the sealed cabinet can sometimes trigger a void clause.
- Self-repair is ideal for machines older than two years.
- Keep your receipts for any new parts you buy.
- Always check the fine print on your specific model.
Final Thoughts
You really can handle this repair if you take it one step at a time. Modern appliances feel complicated, but they are just a collection of simple parts. Fixing that e19 error is a great way to save cash and keep your kitchen running. I believe in your ability to get this done today. Now go ahead and get that dishwasher back to work for your family.
| Steps | Difficulty Level | Parts Needed | Pro Tip |
| Preparation | Easy | Towels | Take photos of everything before moving. |
| Accessing Valve | Medium | Torx T20 | Don’t force the plastic clips. |
| Part Swap | Medium | New Solenoid | Ensure the O-ring is perfectly flat. |
| Final Testing | Easy | None | Use a short cycle to save time. |
Frequently Asked Questions (FAQs)
Is it safe to fix this myself?
Yes, it is perfectly safe as long as you follow the rules. You must disconnect the power and water before you begin the work. Once the electricity is gone, the dishwasher is just a box of parts. Take your time and work carefully to ensure everything stays safe and dry.
Can I just clean the valve instead of replacing it?
Cleaning the solenoid valve rarely works for this specific error code. The problem is usually an internal electrical failure in the copper coils. You cannot see or reach this part of the valve to clean it. Replacing the whole part is the only way to ensure a reliable and long-lasting fix.
Do I need any special tools for this job?
You will mostly need a Torx T20 screwdriver for the side panel screws. A pair of pliers might help with the electrical plug if it is tight. You should also have a few towels ready for water spills. You do not need any expensive diagnostic equipment to finish this job successfully.
Is it possible the control board is actually the problem?
The control board can fail, but it is much less common than the valve. In my long career, the e19 code is almost always caused by the solenoid itself. If you replace the valve and the code stays, then check the board. However, you should always start with the cheaper part first.
Can I use a generic part from the internet?
I always recommend using an original Bosch part for your dishwasher repair. Generic parts might fit, but their electrical resistance can be slightly different. This can sometimes confuse the machine’s computer and cause more errors. Spending a bit more on a genuine part is worth the peace of mind for you.
Do I have to pull the dishwasher all the way out?
You usually only need to pull it out about halfway to see the panel. As long as you can reach the screws, you can leave the hoses attached. This makes the job much faster and reduces the risk of leaks. Just be careful not to pull the hoses too tight.
Is it common for this error to happen again?
Once you replace the faulty solenoid with a new part, it should last years. These parts don’t fail constantly, but they do wear out with regular use. If it fails again very quickly, you might have an electrical surge issue. Check your home’s power quality if you see repeated failures.
Do I need to reset the dishwasher after the repair?
Usually, the error code will disappear on its own after the fix. The machine will detect the new working solenoid and clear the message. However, if the code persists, you can hold the Start button for five seconds. This performs a hard reset and allows the machine to start fresh.