As an Amazon Associate, I earn from qualifying purchases at no extra cost to you.
How to Install a KitchenAid Dishwasher the Right Way
 ByZayyan
I remember the first time I faced a half-empty kitchen with no dishwasher. The thought of hand-washing every plate made me cringe. That’s when I decided to tackle installing a KitchenAid dishwasher myself. It sounded tricky, but I discovered some surprisingly simple tricks. By the end, I realized it wasn’t just about tools, it was about knowing the right order. Let’s walk through it together.
Turn off water and power first, measure your space accurately, remove the old unit carefully, connect water and drain lines securely, slide in the new dishwasher while checking alignment, tighten screws and hoses, run a test cycle, adjust settings as needed, and finally, enjoy a fully functional KitchenAid dishwasher without leaks or gaps.
Prepare Your Kitchen Space
Before diving in, make sure your kitchen space is clear and accessible. Move anything stored under the counter or around the dishwasher area. Even a small cabinet door can get in the way, so it’s better to have everything out. I once started installing and almost tripped over a broom hidden behind the counter—it slowed me down a lot. Think of this as giving yourself breathing room and freedom to work efficiently.
Next, measure the opening carefully. KitchenAid dishwashers usually need standard 24-inch widths, but double-check height and depth. I keep a tape measure handy, and sometimes I even mark the walls with painter’s tape to visualize fit. This prevents surprises when sliding the unit in later. Remember, a tight space can make hose connections painful.
Check under the sink for water and electrical connections. Old pipes might need cleaning or minor adjustments. I found a small leak once that could have ruined the installation. Ensuring a dry, accessible, and tidy connection point avoids future headaches.
Lastly, plan where you’ll keep tools and screws. I place them in a small container to avoid losing anything. This little tip saves time and frustration, especially when working alone. Small details can make the difference between a smooth installation and a stressful afternoon.
- Clear kitchen space completely
- Measure opening accurately
- Inspect water and electrical points
- Organize tools and screws
- Visualize the dishwasher fit
Turn Off Water and Power
Safety is more than a suggestion—it’s the first real step. Locate your water shutoff under the sink and turn it off. Even a tiny drip while connecting hoses can cause a mess. I once ignored this step and ended up wiping water for half an hour. Turning off the power at the breaker is equally important; electrical shocks are no joke.
After shutting everything off, test to ensure no water is coming through. Open the faucet briefly to check for leaks or pressure. This small check gives peace of mind. I always feel more confident when I see dry pipes before starting any installation.
Next, disconnect the old dishwasher carefully. Pull out the appliance slowly; hoses might still have residual water. Keep a towel handy, like I do, to catch any drips. I’ve found that removing the unit at a slow, measured pace reduces stress and prevents accidental damage to cabinets.
Finally, take a moment to label or note the positions of existing hoses and wiring. This helps when connecting the new dishwasher. I usually snap a quick photo with my phone, which makes reassembly faster and avoids guesswork later.
- Shut off water and power completely
- Test for leaks under faucet
- Disconnect old dishwasher slowly
- Keep towels ready
- Label hoses and wiring for reference
Remove the Old Dishwasher
Pulling out an old dishwasher can be trickier than it sounds. Sometimes screws are tight, and edges are sharp. I always wear gloves to avoid scratches, and it really makes a difference when sliding the unit out. If it’s stuck, a gentle wiggle works better than force.
Disconnect the water line carefully, catching any leftover water in a small bucket. The drain hose can be tricky; it may be connected under the sink with clamps. I’ve learned that loosening clamps gradually helps prevent spills. Taking your time avoids stress and accidental water damage.
Electrical connections are next. Most dishwashers are hardwired or connected via a plug. Check which type you have and disconnect accordingly. I once forgot to check for a secondary power line, and it was an unpleasant surprise. Safety first, always.
Finally, inspect the empty space for debris or damage. Old screws, broken tiles, or dirt can interfere with the new dishwasher. I clean and smooth out the area to make sliding the new unit seamless. This extra minute saves a lot of hassle later.
- Wear gloves for safety
- Loosen water and drain connections slowly
- Disconnect electrical carefully
- Inspect the empty space
- Clean debris for smooth installation
Connect Water and Drain Lines
Connecting hoses correctly is essential for a leak-free dishwasher. Start with the water supply line. I prefer using Teflon tape around threads to ensure a tight seal. Even a small leak can turn into a bigger problem, as I found out once.
Next, attach the drain line to the sink or garbage disposal. Make sure it has the proper loop to prevent backflow. I like to secure it with clamps and double-check that it isn’t kinked or pinched. Watching water run smoothly without pooling is always satisfying.
Don’t forget the dishwasher’s internal connections. Check that the hose fits snugly into the inlet and drain ports. A tiny misalignment can cause leaks. I often gently tug on hoses after installation to make sure they’re firmly seated.
Lastly, take a moment to review all connections visually. A second look often catches mistakes you wouldn’t notice the first time. I do a mental checklist: water tight, drain loop correct, hoses secure, and no twisting. This step prevents future messes.
- Use Teflon tape on threads
- Secure drain hose with clamp
- Check internal connections
- Avoid kinks in hoses
- Review all connections visually
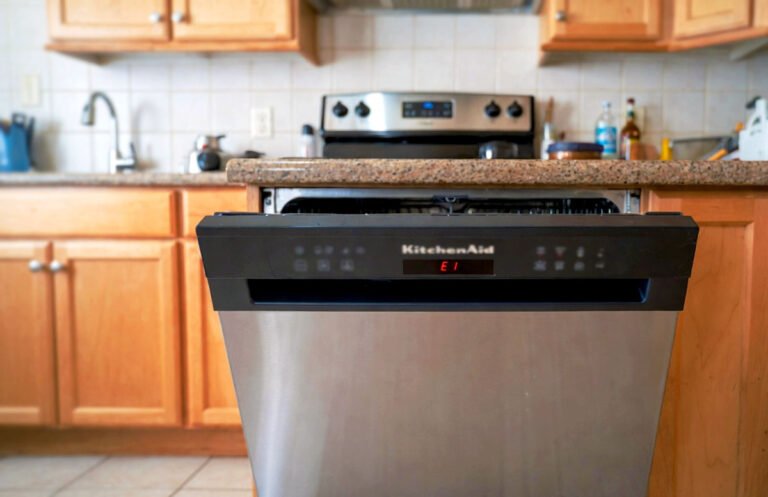
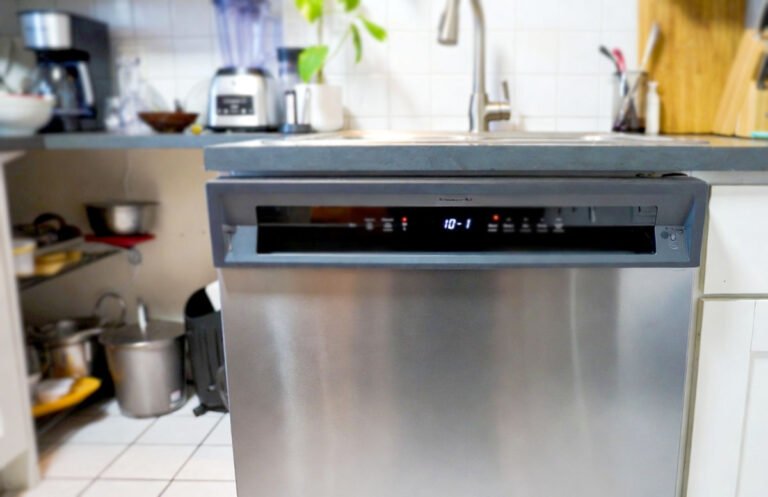
Slide in the New Dishwasher
Sliding the new unit in place can feel a bit nerve-wracking. Take your time and keep hoses aligned. I sometimes have to adjust the leveling feet to avoid scraping the cabinet floor. A slight nudge or tilt can make a big difference.
Make sure the dishwasher is centered and flush with surrounding cabinets. I mark the edges with painter’s tape to visualize the alignment. Once it’s perfectly positioned, minor adjustments are easier before final tightening. It’s a little thing, but it really affects the kitchen’s look.
Double-check hoses and wiring before pushing fully in. I’ve seen friends trap hoses behind the unit and regret it later. Giving everything a final glance ensures no pinch points or twists that could cause leaks.
Finally, test the alignment visually and by opening the door slowly. Make sure it moves freely and the panels sit evenly. A small misalignment can feel off every time you open it. I always take a few minutes here; it’s worth it.
- Slide dishwasher slowly and carefully
- Adjust leveling feet
- Center and align with cabinets
- Check hoses and wiring before pushing
- Test door movement
Secure and Test the Dishwasher
Once in place, attach screws and brackets to hold the dishwasher steady. I start loosely, then adjust before fully tightening. This prevents shifting while connecting hoses. It’s a small step that saves frustration later.
Run a short test cycle before finishing completely. I check for leaks, strange noises, or vibration. This is the moment you catch minor issues early. One time I skipped this, and a tiny leak went unnoticed for days. Lesson learned!
Check all connections again after the test. Even if everything seems fine, tightening clamps and brackets ensures long-term stability. I often make a checklist to be methodical, which prevents missing any detail.
Finally, adjust settings like cycle type, temperature, and detergent dispenser. I play around with a few options to confirm everything works. A test wash with a few dishes makes sure it’s performing well. This part is fun—you finally see your effort pay off.
- Attach screws and brackets securely
- Run a short test cycle
- Recheck all connections
- Tighten clamps and screws
- Adjust dishwasher settings
Final Thoughts
Installing a KitchenAid dishwasher doesn’t have to be overwhelming. With careful preparation, attention to details, and small safety checks, the process can be smooth. Take your time, follow each step thoughtfully, and check your work along the way. Soon, you’ll enjoy spotless dishes without stress or mess. It’s satisfying to see the new dishwasher running perfectly in your kitchen.
| Task | Tip | Common Mistake to Avoid |
|---|---|---|
| Measure space | Use tape and painter’s tape for visualization | Ignoring height or width limits |
| Turn off water/power | Check faucet after shutting off | Leaving residual water |
| Remove old dishwasher | Use gloves and towels | Pulling too fast and damaging floor |
| Connect water line | Apply Teflon tape | Loose connection causing leaks |
| Attach drain hose | Secure with clamps and loops | Pinched or kinked hose |
| Slide in unit | Adjust leveling feet | Misaligned or tilted unit |
| Secure screws | Tighten after adjusting | Over-tightening too early |
| Test cycle | Check for leaks and noise | Skipping initial test |
Frequently Asked Questions (FAQs)
Is it necessary to shut off water for installation?
Yes, shutting off water is crucial to avoid leaks and flooding. Even small drips can damage cabinets and floors. I always test the faucet after turning off the valve to make sure water is completely off. It’s a quick step that prevents major headaches.
Can I install a KitchenAid dishwasher alone?
Absolutely, with patience and careful planning. I’ve done it myself using simple tools, measuring carefully, and keeping hoses organized. Having a small flashlight, towels, and a container for screws makes the solo installation manageable.
Do I need professional help for electrical connection?
If you’re not comfortable with electricity, consider a professional. However, many dishwashers use a plug-in cord. I always double-check breaker status and follow manufacturer instructions to stay safe.
Is Teflon tape required for water connections?
While not always mandatory, Teflon tape ensures a tight seal and reduces leaks. I wrap threads carefully and avoid over-tightening. It’s a small trick that prevents water damage later.
Can I reuse old hoses from the previous dishwasher?
Sometimes, if they’re in good condition. I recommend checking for cracks or wear first. Old hoses can leak unexpectedly, so replacing them is often safer.
Do I need to level the dishwasher perfectly?
Yes, leveling prevents noise, door misalignment, and water pooling. I adjust feet gradually and check with a small level to ensure smooth operation.
Is it okay to run the dishwasher immediately after installation?
You should run a test cycle first. This checks for leaks, proper drainage, and overall function. I usually use a few dishes to make sure everything works before full use.
Can I adjust settings after installation?
Yes, most KitchenAid dishwashers allow easy adjustment. I experiment with cycle types, temperatures, and detergent dispenser settings to match my needs. Fine-tuning ensures optimal performance.