As an Amazon Associate, I earn from qualifying purchases at no extra cost to you.
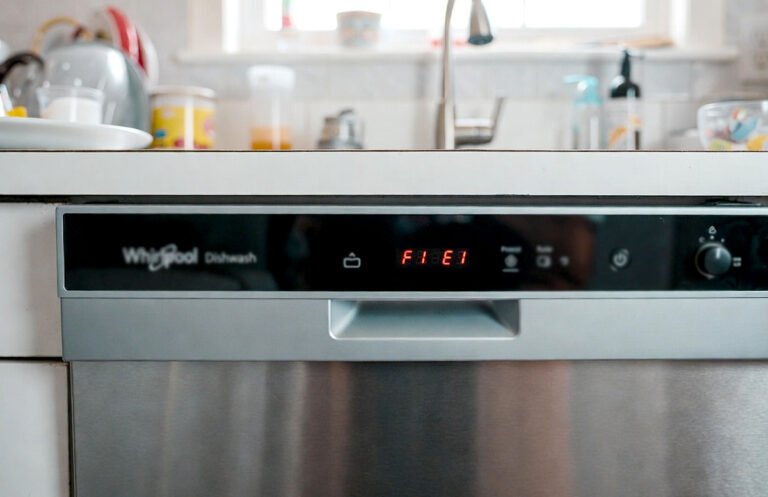
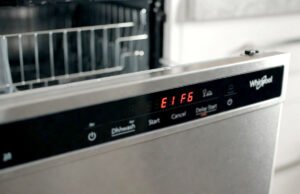
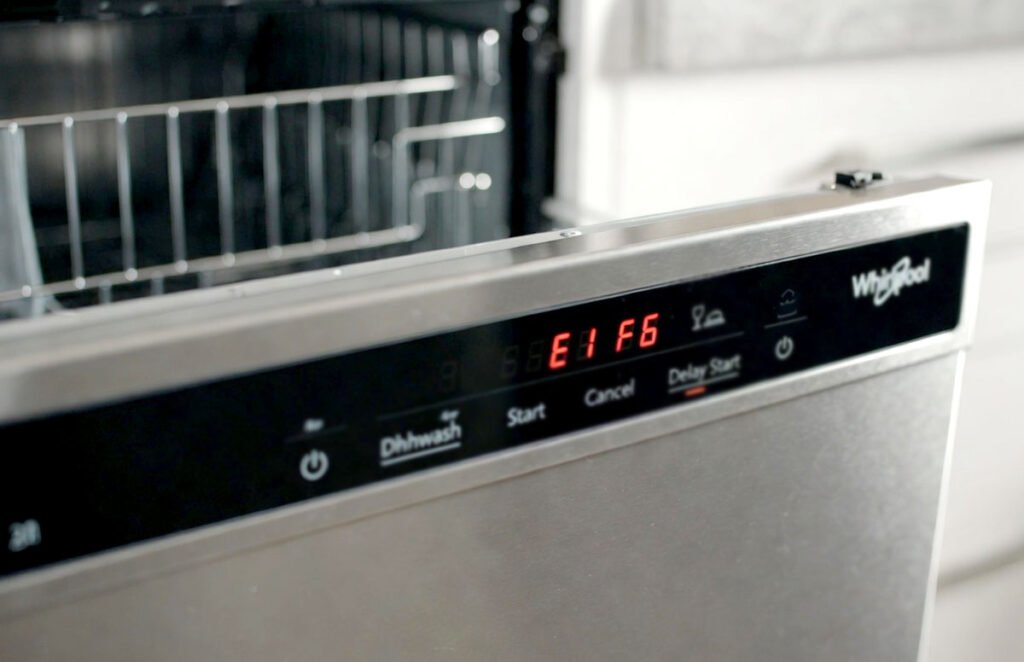
Whirlpool Dishwasher Error Code E1 F6 (Fix It Now Easily)
 ByZayyan
The dishwasher is mid cycle, water is pooling, lights start blinking, and the screen flashes E1 F6 while the pump keeps humming. I have seen this exact mess under sinks at midnight service calls. In this article I break down what actually failed and how to fix it without guessing.
The Whirlpool dishwasher error code E1 F6 points to a water fill problem caused by bad flow feedback. Most of the time the machine is not sensing water movement because of a clogged flow meter, stuck inlet valve, or wiring issue under the toe panel. This is not a control board guessing game. You fix it by checking water supply pressure, cleaning the flow meter, and testing the inlet valve with a multimeter before replacing anything expensive.
What is Whirlpool Dishwasher Error Code E1 F6 and Why Does It Happen
This error shows up when the control does not detect enough water movement during fill. Whirlpool dishwashers use a small flow meter mounted on the inlet side. When water spins a tiny turbine inside, the control counts pulses. No pulses means no fill, so the cycle stops.
In real homes, this usually starts with low water pressure or debris. Hard water scale, sand from old plumbing, or even Teflon tape shreds can jam the turbine. I have pulled apart dozens that looked fine outside but were locked solid inside.
Another common reason is electrical. The flow meter is a simple switch, but the wires run low, right behind the toe panel. One kick from a shoe or moisture from a slow leak can corrode the connector. The control then thinks water never entered.
- Clogged flow meter turbine
- Failed water inlet valve
- Low household water pressure
- Kinked or partially closed supply line
- Corroded wiring at the flow meter
- Control not receiving pulse signal
Whirlpool Dishwasher Error Code E1 F6 Repair Guide
Step 1 Turn Off Power and Water Safely
Start by killing power at the breaker, not just the door switch. I always use a non contact voltage tester at the junction box behind the toe panel. For water, shut off the supply valve under the sink fully clockwise.
Next, pull the dishwasher out about six inches. You do not need to disconnect everything yet. Just enough room to reach the inlet valve area without stressing hoses or wires. Use a towel to catch drips.
Before touching anything else, remove the toe panel. Most Whirlpool units use a quarter inch hex screw. Keep them in a cup. The flow meter and valve wiring are now visible and easy to reach.
- Breaker off confirmed
- Water valve fully closed
- Dishwasher slightly pulled forward
- Toe panel removed carefully
Step 2 Inspect the Water Supply and Inlet Valve
Check the supply line first. Look for kinks, crushed spots, or a saddle valve that is barely open. I see this constantly on installs. The dishwasher needs steady pressure, not a trickle.
Disconnect the supply line from the inlet valve using a five eighths inch wrench. Hold a bucket under it and crack the shutoff briefly. You want a strong stream. Weak flow means a plumbing issue.
Now test the inlet valve electrically. Set your multimeter to ohms. Most Whirlpool valves read between 800 and 1400 ohms. If it is open or shorted, replace it. Do not guess.
- Supply line inspected
- Water pressure verified
- Inlet valve disconnected
- Resistance tested correctly
Step 3 Remove and Clean the Flow Meter
The flow meter is a small round plastic part clipped into the inlet housing. There is a hidden locking tab on the back side. Use a flat blade screwdriver to release it gently. Do not pry hard or it will snap.
Once out, shake it. If you hear nothing, that turbine is stuck. Split the housing carefully. Inside you will usually find grit or scale. Clean it with vinegar and a soft brush only.
Spin the turbine with your finger. It should move freely with no drag. If it sticks even a little, replace it. Cleaning only works if the plastic is not warped.
- Locking tab released gently
- Housing opened carefully
- Turbine cleaned thoroughly
- Free spin confirmed
Step 4 Check Wiring and Connectors
Follow the two wires from the flow meter back toward the control harness. Look closely at the connector pins. Green or white residue means corrosion. Even slight buildup can kill the signal.
Use electrical contact cleaner and a small pick to clean the terminals. If the connector feels loose, pinch it slightly so it grips tighter when reinstalled. This detail matters more than people think.
Also check for rubbed insulation where the harness passes the frame. I have fixed many E1 F6 errors by repairing one chafed wire with heat shrink tubing instead of replacing parts.
- Wiring visually inspected
- Corrosion cleaned properly
- Connector tension restored
- Insulation damage repaired
Step 5 Reassemble and Test Fill Operation
Reinstall the flow meter until the tab clicks. Reconnect the inlet valve wiring and supply line. Tighten snug but not gorilla tight. Plastic threads strip easily.
Slide the dishwasher back but leave the toe panel off for now. Turn water back on slowly and check for leaks. Restore power at the breaker once dry.
Run a quick wash cycle and listen. You should hear a strong fill followed by wash motor action. If the error does not return after five minutes, the repair worked.
- Flow meter seated fully
- Connections tightened correctly
- Leak check completed
- Fill sound confirmed
Step 6 When to Replace Parts Or Call It Done
If cleaning and wiring checks did not fix it, replace the flow meter first. It fails more often than the control board and costs far less. Always use an OEM part for accurate pulse counts.
If a new flow meter still throws E1 F6, then suspect the control board. At that point, I advise stopping unless you are comfortable with board replacement and programming.
Once repaired, reinstall the toe panel and run a full cycle. Stay nearby the first time. Watch for leaks and listen for normal operation before trusting it overnight.
- Flow meter replaced if needed
- Control board considered last
- Toe panel reinstalled
- Full cycle monitored
How Can You Prevent Whirlpool Dishwasher Error Code E1 F6
Preventing this error starts with water quality and pressure. If you live in an area with hard water, scale builds fast inside small plastic parts. A whole house filter or under sink sediment filter helps more than any detergent trick.
Installation details matter too. Always fully open the shutoff valve and avoid saddle valves. Use a proper quarter turn valve and a braided stainless line. I replace more flow meters caused by bad valves than actual part defects.
Lastly, pay attention to small leaks. Moisture under the dishwasher corrodes low voltage connectors silently. If you ever see dampness at the toe panel, fix it immediately. It saves hours of troubleshooting later.
- Install sediment filtration
- Maintain proper water pressure
- Avoid saddle valves
- Use quality supply lines
- Check for slow leaks
- Inspect annually
Final Thoughts
This error looks scary on the display, but it is usually a simple water sensing problem. Take it step by step and test before replacing parts. If you get stuck, pause and reassess instead of forcing it. Dishwashers are logical machines. Fix the water path and E1 F6 almost always disappears for good.
| Steps | Difficulty Level | Parts Needed | Pro Tip |
|---|---|---|---|
| Power And Water Shutoff | Easy | None | Always verify power with a tester |
| Inlet Valve Check | Medium | Multimeter | Ohm test before replacing |
| Flow Meter Cleaning | Medium | Vinegar, brush | Listen for free turbine spin |
| Wiring Inspection | Medium | Contact cleaner | Tight connectors matter |
| Test Cycle | Easy | None | Leave toe panel off first |
| Part Replacement | Hard | OEM flow meter | Avoid aftermarket sensors |
Frequently Asked Questions (FAQs)
Is it safe to keep running the dishwasher with E1 F6 showing
No, it is not a good idea. When this code appears, the dishwasher is not filling correctly. Running it repeatedly can overheat the wash motor or damage the inlet valve. Fixing the water sensing issue first prevents bigger failures later.
Can low water pressure alone cause this error
Yes, absolutely. I have fixed many units where nothing was broken. The shutoff valve was barely open or clogged with debris. The flow meter never saw enough movement, so the control assumed a fault.
Do I need to replace the control board for E1 F6
Most of the time, no. Control boards are the last suspect. Always check the flow meter, inlet valve, and wiring first. Replacing the board without testing usually wastes money and does not fix the root cause.
Is it hard to replace the flow meter myself
If you are comfortable removing the toe panel and using a screwdriver, it is manageable. The hardest part is releasing the hidden tab without breaking it. Take your time and do not force it.
Can a clogged filter inside the tub cause E1 F6
No, the tub filter affects wash performance, not fill sensing. This error happens before washing even starts. Focus on the inlet side, not the sump or spray arms.
Do I need special tools for this repair
You only need basic tools. A quarter inch nut driver, flat screwdriver, adjustable wrench, and multimeter cover almost everything. I carry these on every dishwasher call.
Is it normal for the error to clear itself sometimes
Yes, intermittently. A stuck turbine may free up briefly, then jam again. That is why the error can appear randomly. Cleaning or replacing the flow meter stops that cycle.
Can I use aftermarket parts to save money
I do not recommend it for flow meters. Aftermarket sensors often send incorrect pulse counts. The dishwasher may fill too little or too much. OEM parts keep the control logic accurate.