As an Amazon Associate, I earn from qualifying purchases at no extra cost to you.
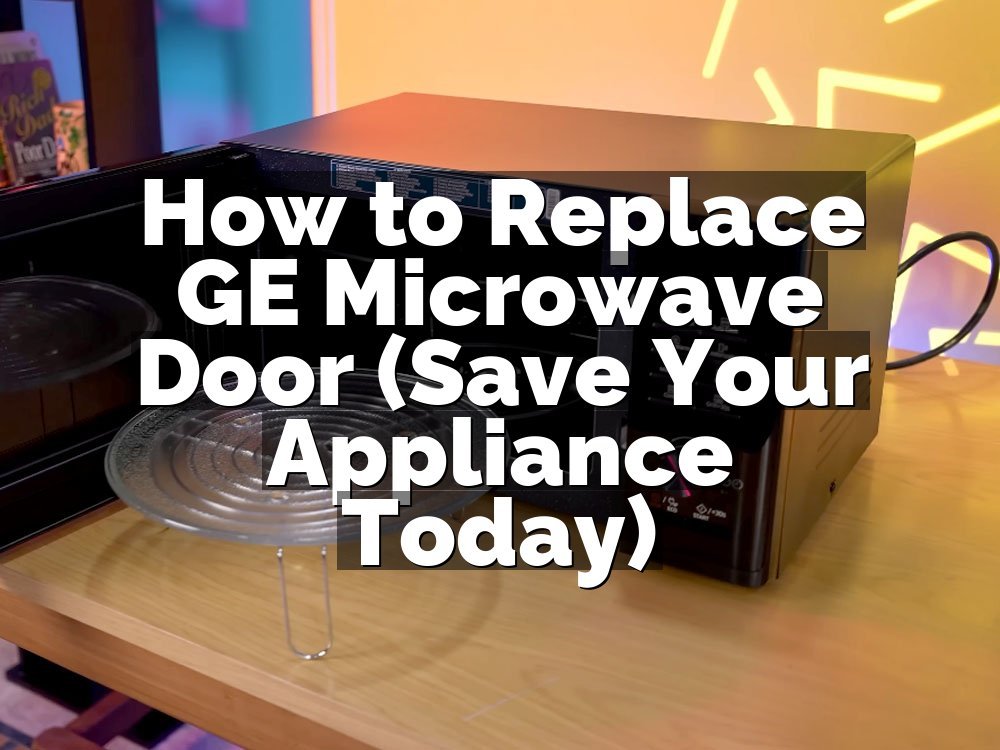
How to Replace GE Microwave Door Switch (Save Your Appliance)
 ByZayyan

My GE microwave stopped working last Tuesday, right when I was heating up a bowl of leftover chili. The light inside turned on, the timer counted down, but the plate just sat there. I opened the door, shut it again, and heard a faint click. It was frustrating, but I knew I could fix it myself.
You do not need to be a professional to handle this job, but you do need to be careful. If your microwave door does not click or the display shows a code, the switch is likely the culprit. I will walk you through the process so you can get back to cooking without paying a steep repair bill.
You need to unplug the unit before touching anything inside. Once it is unplugged, pull the microwave away from the wall to reach the outer casing screws. Remove the top and side panels carefully. Locate the latch board near the door mechanism. Swap the old switches for new ones, test the door latch alignment, and reassemble the casing. This fixes most power issues caused by a faulty door sensor.
Reasons for a Faulty Door Sensor
If your microwave display lights up but the unit refuses to start, you are likely dealing with a bad door interlock switch. These small components wear out over time, and they eventually stop signaling that the door is closed.
Normal Switch Wear
These switches are mechanical devices that click every single time you open and close the door. After a few years, the tiny metal spring inside loses its tension. When this happens, the connection fails to complete the circuit, and your microwave not starting is the result. It is not poor quality, just normal physics at play in a kitchen environment.
Excess Heat Buildup
Microwaves generate immense heat, and sometimes the insulation around the switch assembly breaks down. If your unit is mounted over a range, the heat from your stove speeds up this process. I once saw a faulty door latch where the plastic housing had actually warped slightly from the stove heat, preventing the switch from engaging properly when the door closed.
Debris and Grime
Kitchens are messy places, and fine particles of grease or dust can settle inside the door mechanism. This buildup creates a sticky layer that prevents the switch button from popping back out. I usually clean my door frame twice a month with a damp cloth to avoid sticky door switch issues that often confuse people into thinking their unit is broken.
Frequent Power Surges
Electrical spikes can weld the internal contacts of a switch together. If you notice your microwave acting erratic, like starting without a command or ignoring your inputs, the switch might be stuck in a closed position. This is dangerous, so please do not ignore it. Always pull the plug immediately if the unit behaves like it has a mind of its own.
Incorrect Door Alignment
Sometimes the issue is not the switch, but the door hinges themselves. Over time, the heavy door can sag, meaning the latch does not hit the switch with enough force. I fixed a friend’s unit once just by tightening the hinge screws with a screwdriver. Always check that the door closes perfectly flush before you assume the electronics have failed.
Factory Defect
Actually, let me back up a second. Sometimes, a part is just bad from the start. If your microwave is less than a year old and giving you trouble, check the warranty first. I once spent an hour trying to fix a broken microwave latch only to realize it was a simple manufacturing flaw covered by the maker. Save your receipt.
Fixing a microwave is a common task, but you have to prioritize safety above all else. Use a multimeter to check the continuity of the switches. If you feel nervous, just call a professional instead.
- Unplug the power cord first.
- Wear work gloves for sharp edges.
- Use a magnetic screwdriver tray.
- Keep track of every single screw.
- Take photos of the wire setup.
- Test the switch for continuity.
Steps to Replace GE Microwave Door Switch
Replacing a switch is a methodical process. You must take your time to ensure the wires go back in the right spot, or the microwave simply will not turn on at all.
Remove the Outer Casing
Unplug the power cord and move the microwave to a flat, clear workspace. Locate the screws along the back and sides of the metal cover. Remove them carefully, keeping them in a bowl so they do not roll away. Once the screws are out, slide the cover back and lift it off the frame to expose the internals.
You might find a few hidden screws near the bottom edge. These are often tucked away to keep the design clean. Look closely at the back panel before pulling too hard. If it does not slide off easily, stop and look for one more screw you might have missed. Forcing the metal cover can bend the frame permanently.
Take a moment to look at the inner workings once the cover is off. You will see a large capacitor, which stores a dangerous electrical charge. Do not touch any metal parts near that component. I always use a plastic tool to keep my hands away from the high-voltage area while I reach for the door assembly.
Identify the Switch Assembly
The door switches are located right where the door latch hooks into the body of the microwave. You should see a small plastic block with two or three wires attached to it. These are the interlock switches. There is usually a primary, a secondary, and a monitor switch, which work together to detect the door status.
Check the color of the wires before you disconnect anything. Some models use identical connectors, which makes it easy to mix them up. I like to use a piece of masking tape to label each wire as I pull it off the terminal. This keeps everything clear and prevents a headache during the final reassembly of the unit.
Use a pair of needle-nose pliers to gently wiggle the wire connectors off the switch tabs. Do not pull by the wire itself, or you might snap the connection. Grip the metal connector firmly and pull straight back. If it feels stuck, a tiny bit of wiggling back and forth usually does the trick every single time.
Remove the Old Switch
The switch is usually held in place by a small plastic tab or a single screw. Press the tab to release the switch, or unscrew it, then pull it out of the mounting bracket. Keep the orientation in mind, as the button on the switch must face the door latch perfectly to work. Note how the old one sits.
Look for signs of burning or melting on the old switch. If you see black marks, the switch definitely failed. Sometimes the plastic around the switch melts, which means the heat was too high. If the mounting area is melted, you might need to clean it up with a small file before you try to install the new part.
Keep the old switch nearby until you finish the job. You might need to compare it to the new one to ensure they are identical. Sometimes there are two different types of switches in the same assembly, like a normally open or normally closed type. Matching them exactly is the most important part of this entire repair.
Install the New Component
Slide the new switch into the bracket until you hear a clear click. The button should face the door latch mechanism, just like the old one did. If it does not snap into place, check for any plastic burs or debris that might be blocking the path. It should feel firm and stable when it is fully seated.
Reconnect the wires one by one, matching the labels you made earlier. Make sure each connector slides all the way onto the terminal tab. If the connection feels loose, you can gently squeeze the connector with your pliers to tighten it. A loose connection will cause the microwave to run intermittently or not at all.
Double-check your wiring against your notes. It is so easy to swap two wires by mistake. If you have any doubt, look at a wiring diagram for your specific model number. Most GE microwaves have a diagram printed on the inside of the casing or under the control panel. This is a great resource for double-checking your work.
Test the Door Latch
Before you put the metal cover back on, test the door mechanism. Push the door shut and watch the switches. The latch should engage the buttons on the switches with a crisp, audible click. If the switches do not click, you might need to adjust the position of the latch or the mounting bracket.
Use your finger to manually press the door switches to see how they feel. They should have a springy, positive action. If one feels mushy or stays pressed down, the switch is likely defective or misaligned. It is better to find this out now than after you have screwed the entire metal case back together.
Make sure the door opens and closes with the same feel as it did before. The latch should slide into the hole smoothly without catching on the frame. If it catches, the door is not aligned. Loosen the hinge screws slightly to shift the door until it closes perfectly, then tighten them back up to secure the position.
Replace the Outer Cover
Slide the metal casing back onto the microwave frame. Make sure the edges align with the grooves on the bottom and sides. If it does not slide on easily, check that no wires are pinched between the frame and the cover. Take your time here. You do not want to damage a wire you just worked so hard to connect.
Replace the screws you removed earlier. Start with the ones in the back, then move to the sides. Do not overtighten them, as the metal casing is thin and can strip easily. Just get them snug enough so the cover does not rattle when the microwave is running. A light touch is enough to keep everything secure.
Plug the microwave back into the wall and run a quick test. Place a cup of water inside and run it for thirty seconds. If it heats up and the light turns on, you fixed the problem. If it does not start, unplug it again and recheck your wire connections. You likely have a loose connector or a swapped wire.
- Unplug power before any work.
- Label wires with masking tape.
- Use needle-nose pliers for terminals.
- Compare old and new switches.
- Test for audible click sounds.
- Check for pinched wire lines.
Replace the switches if you suspect a faulty door interlock that prevents the unit from heating. It is a simple swap, but always keep your hands away from the high-voltage capacitor. Safety is the only thing that matters when you open the casing.
Why Does My Microwave Click But Not Start?
This is a classic sign that your door switch is not sending the signal to the control board. The click you hear is the latch hitting the door, but the switch behind it is not actually closing the circuit. Without that closed circuit, the control board thinks the door is still wide open.
I have seen this happen with worn microwave switches that have lost their internal spring tension. The button moves, but the electrical contact inside never actually touches. You can sometimes hear the plastic click, but the machine stays silent. It is a deceptive failure because it sounds like everything is working normally.
Check the door hinges if you notice the unit is struggling to start. If the door sags just a fraction of an inch, the latch might miss the switch entirely. I once spent twenty minutes testing switches when a simple hinge adjustment fixed the whole thing. Always look for the easiest cause before you start taking parts out.
Finally, consider the control board. If the switches are fine and the door is aligned, the board itself might have a burnt trace. This is rare, but it does happen. If you replace the switches and the unit still does not start, you might be looking at a more expensive repair that requires a new main board.
- Check if the display shows an error code.
- Inspect the door hinges for sagging.
- Listen for the click during closing.
- Verify the switch is actually clicking.
- Look for signs of burnt plastic.
- Test with a new switch if possible.
How Long Do Microwave Switches Usually Last?
Most switches are rated for a few hundred thousand clicks. In a normal household, this means they should last five to ten years without any trouble. Of course, this depends on how often you cook. A family of five that uses the microwave for every meal will wear them out faster than a single person.
I noticed that units kept in very humid environments, like a coastal area, tend to have shorter lives. Moisture gets into the switches and causes the metal contacts to oxidize, which leads to poor conductivity. If your kitchen gets really steamy, try to keep the area around the microwave as dry as possible.
Another factor is how hard you slam the door. I know it is just a habit, but slamming the door puts a lot of stress on the mounting brackets. Over time, that impact force contributes to the misalignment that ruins the switch. Treat the door gently and you might add an extra year of life to your appliance.
If you find yourself replacing these every two years, there might be an electrical issue in your house. Constant power fluctuations can damage the delicate internal components. Consider using a surge protector if your kitchen outlets seem to have issues. It is a cheap way to protect your expensive appliances from unseen electrical damage.
- Expect five to ten years of use.
- Humidity affects the internal contacts.
- Avoid slamming the door shut.
- Surge protectors prevent electrical damage.
- High usage leads to faster wear.
- Poor manufacturing can cause early failure.
Is It Safe to Replace the Switch Myself?
Yes, it is safe if you respect the power and follow the steps. The biggest risk is the high-voltage capacitor. Even when the microwave is unplugged, that part can hold a charge that is enough to give you a very nasty shock. Never touch the capacitor terminals with your fingers or a metal tool.
I always wait at least an hour after unplugging the unit before I start taking the case off. This lets the capacitor bleed off its stored energy naturally. If you want to be extra safe, you can look up how to discharge the capacitor properly. It is a good skill to have, but you can usually get by with just waiting.
Do not try to bypass the switches. I have heard stories of people trying to wire the switch permanently shut so they can open the door while the microwave is running. That is incredibly dangerous. The microwave will leak radiation if it runs with the door open, which can cause serious burns.
If you feel unsure about any part of the process, just stop. You can always take the unit to a local repair shop. It is better to pay a professional than to risk an electrical injury. Trust your gut. If you feel like you are in over your head, that is the right time to stop.
- Wait one hour before opening.
- Avoid touching the capacitor entirely.
- Never bypass the safety switches.
- Disconnect the power cord fully.
- Use insulated tools for safety.
- Stop if you feel unsure.
What Are Common Signs of a Bad Switch?
The most common sign is a microwave that behaves like it is working, but just will not heat. You see the light, you hear the fan, and the timer moves, but the food stays cold. This usually means the safety switch is not telling the controller that the door is closed and locked.
Another sign is the microwave blowing the fuse as soon as you close the door. This happens if the switches are out of sync. One switch is closed while another is open, which causes a short circuit. The fuse blows to protect your home wiring from a fire. It is a clear sign that something is misaligned.
Sometimes the microwave starts as soon as you plug it in. This is a very bad sign. It means the switch is stuck in the closed position, so the controller thinks the door is closed and the unit is ready to go. You must pull the plug immediately if this happens, as it is a major fire hazard.
Finally, look for error codes on the display. Many modern GE microwaves have built-in diagnostics that will tell you if a door sensor is failing. If you see a code that refers to the door or the latch, check the manual or search online for that specific number. It will save you a lot of troubleshooting time.
- Unit starts automatically when plugged.
- Microwave runs but does not heat.
- Fuse blows when closing door.
- Error codes appear on display.
- Interior light stays on permanently.
- Microwave makes strange humming sounds.
Final Thoughts
I hope this guide helps you tackle your microwave repair with confidence. It really is a simple fix once you understand how the parts fit together. Just remember to take your time, keep your screws organized, and never rush the process. You are saving a perfectly good appliance from the landfill, which is always a win in my book. If you hit a snag, just walk away for a few minutes and come back with a fresh pair of eyes.
| Symptom | Likely Cause | Recommended Action |
|---|---|---|
| Microwave won’t start | Faulty door switch | Replace the switch |
| Light stays on | Stuck switch button | Clean the latch |
| Door feels loose | Worn hinge screws | Tighten hinges |
| Blows house fuse | Shorted safety switch | Check switch wiring |
| Runs when door open | Welded switch contact | Unplug immediately |
| Error code on screen | Misaligned door latch | Adjust door alignment |
| No click when closing | Broken switch spring | Replace the switch |
| Intermittent heating | Loose wire terminal | Tighten the connector |
| Burning plastic smell | Overheated assembly | Replace entire switch |
| Makes humming noise | Faulty interlock cycle | Test with multimeter |
Frequently Asked Questions
Is It Necessary to Discharge the Capacitor?
Yes, it is highly recommended to discharge the capacitor before working inside the microwave. Even when unplugged, the capacitor stores a charge that can cause a severe electric shock. Always use a proper grounding tool to discharge it safely if you are touching the interior assembly.
Can I Use a Generic Microwave Switch?
You should always try to use the part number specified for your exact GE model. While some switches look the same, they have different electrical ratings and physical dimensions. Using the wrong switch can lead to a fire hazard or cause the unit to blow a fuse immediately.
Are GE Microwave Door Switches Expensive?
No, these switches are actually quite affordable, usually costing less than twenty dollars. You can find them at most online parts stores or through the GE website. Buying the right part the first time is cheaper than buying a new microwave because of a failed DIY attempt.
Do I Need Specialized Tools to Replace the Switch?
You only need a few basic hand tools like a Phillips screwdriver, a pair of needle-nose pliers, and perhaps a plastic pry tool. Most people already have these in their home toolkit. You do not need anything specialized, just a bit of patience and a steady hand.
Should I Replace All Three Switches at Once?
If you are already inside the unit, it is a smart move to replace all the door switches. They have all been through the same amount of wear and tear, so if one fails, the others are likely to follow soon. It saves you from having to open the casing again next month.
Will My Microwave Work If the Switch is Bypassed?
Never bypass a safety switch. These parts are there to keep you safe from radiation exposure. Running a microwave with a bypassed switch means it can operate with the door open, which is incredibly dangerous for anyone nearby. Always install a functional, rated switch instead.
How Do I Know Which Switch is Faulty?
You can use a multimeter to test for continuity. A good switch will show continuity when the button is pressed, and no continuity when it is released. If the switch shows the same reading regardless of the button position, it is definitely faulty and needs to be replaced immediately.
Can I Clean the Old Switch Instead of Replacing It?
It is rarely worth the effort to clean a switch. The internal contacts are sealed, and the springs lose their strength over time. Even if cleaning works for a day or two, the switch will likely fail again shortly. Replacing it with a new part is much more reliable.