As an Amazon Associate, I earn from qualifying purchases at no extra cost to you.
Coffee Maker Drip Stop Problems? Quick Solutions You Can Try Now!
 ByZayyan
You know how frustrating it is when your coffee maker’s drip stop isn’t working right. Coffee spills everywhere, and you’re left with a mess. Don’t worry—you’re not alone! Many people face this issue, but the good news is that there are some quick and easy fixes you can try right now.
First, check the drip stop button or lever. Sometimes it gets stuck or needs a gentle push to work right. Next, clean the coffee maker thoroughly. Old coffee grounds or sticky residue can cause drips. Make sure the carafe is sitting properly on the warmer plate, as misalignment can also cause drips. If these tips don’t help, your coffee maker might need a bit of repair. But start with these simple steps to fix the problem quickly!
In this blog post, we’ll walk you through simple steps to get your coffee maker’s drip stop back in action. You’ll be brewing coffee without any spills in no time. Let’s dive in and get your morning coffee routine back on track!
Common Issues with Coffee Maker Drip Stops
Coffee makers with drip stops are handy. They help stop coffee from dripping when you take the pot out. But sometimes, these drip stops can have problems. Here are some common issues and what you can do about them.
Drip Stop Not Closing Properly
One common issue is the drip stop not closing all the way. This can cause coffee to leak even when you think it’s turned off. If this happens, check the drip stop to see if it’s dirty or stuck. You might need to clean it or adjust it to make sure it closes completely.
Coffee Still Drips After Removing the Pot
Another problem is coffee dripping after you take the pot out. This usually means the drip stop isn’t working as it should. It could be due to a build-up of coffee grounds or other debris. Clean the drip stop thoroughly to see if that fixes the problem. Sometimes, you might need to replace the drip stop if it’s worn out.
Difficulty in Adjusting the Drip Stop
Sometimes, adjusting the drip stop can be tricky. If it’s too tight or too loose, it won’t work properly. To fix this, you can try adjusting it gently. Make sure it’s in the right position for the coffee maker to work. If adjusting doesn’t help, check the coffee maker’s manual for specific instructions on how to set it correctly.
Leaking Around the Drip Stop
Leaking around the drip stop can also be an issue. This usually happens if the drip stop is damaged or not aligned properly. Check for any cracks or signs of wear. If you see any damage, you might need to replace the drip stop. Make sure it’s aligned properly when you put it back in place to prevent future leaks.
Drip Stop Not Working with Certain Pots
Sometimes, the drip stop might not work well with some coffee pots. This can be due to the shape or size of the pot. If you find that the drip stop works with some pots but not others, try using a different pot to see if that solves the problem. You might need to get a coffee pot that fits better with your coffee maker.
In summary, if you have issues with your coffee maker’s drip stop, start by cleaning it and checking for damage. Adjust it carefully if needed, and make sure it works well with your coffee pot. With a bit of troubleshooting, you can get your coffee maker’s drip stop working smoothly again.
Troubleshooting Coffee Maker Drip Stop Problems
If your coffee maker’s drip stop isn’t working correctly, it can be quite annoying. Here’s a detailed guide to help you fix this issue.

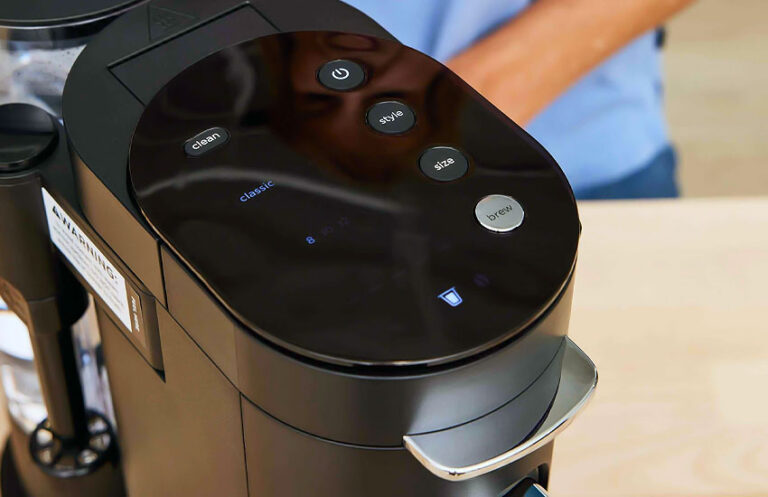
Check the Drip Stop Lever
First, examine the drip stop lever on your coffee maker. This lever controls the flow of coffee and when it stops dripping. If your coffee maker has a drip stop feature, you should see a lever or switch near the carafe or filter area. Sometimes, this lever can get stuck or jammed. When this happens, coffee might continue to drip even when you don’t want it to.
To check the lever, gently move it back and forth. You should feel it click or shift into different positions. If it feels sticky or doesn’t move easily, it might need cleaning. Use a soft, damp cloth to wipe around the lever. Be sure to clean any coffee spills or residue that might be causing the stickiness. Avoid using harsh chemicals or abrasive cleaners, as these can damage your coffee maker.
Once you’ve cleaned the area, try moving the lever again. It should move smoothly and easily. If it still feels stuck, you might need to consult your coffee maker’s manual or contact the manufacturer for more help. Sometimes, the lever might need to be replaced if it’s too worn out or damaged.
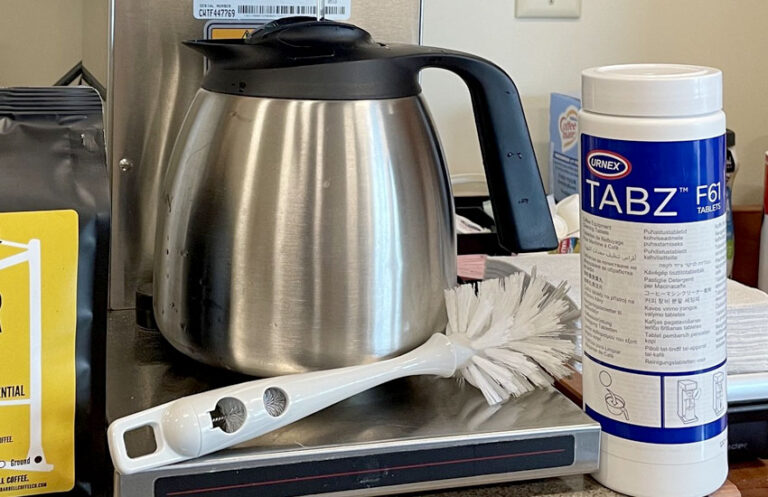
Clean the Coffee Maker
Keeping your coffee maker clean is essential for it to work properly. Over time, coffee makers can accumulate coffee grounds, oils, and residues that might affect the drip stop feature. To clean your coffee maker, start by unplugging it and letting it cool down completely. This will keep you safe from any burns or electrical issues.
Remove all the detachable parts, such as the carafe, filter basket, and any other removable components. Wash these parts with warm soapy water. Use a brush or sponge to scrub away any stuck-on coffee grounds or oils. Pay close attention to the areas where coffee grounds might get trapped. Rinse all the parts thoroughly with clean water to remove any soap residue.
Next, clean the inside of the coffee maker where the carafe sits. Use a damp cloth to wipe away any coffee spills or stains. If there are stubborn spots, you can use a mixture of water and white vinegar to help clean them. After cleaning, let all the parts dry completely before reassembling your coffee maker. Proper cleaning will ensure that your coffee maker works efficiently and that the drip stop feature functions correctly.
Check the Carafe
The carafe, or coffee pot, is an important part of your coffee maker. It should fit properly on the warming plate and align with the drip stop mechanism. If the carafe is not positioned correctly, it might cause the coffee to drip even when the drip stop is engaged.
To check the carafe, make sure it is sitting flat on the warming plate. If the carafe is misaligned or tilted, adjust it so that it fits snugly on the plate. Look for any cracks or damage on the carafe. A damaged carafe might not sit properly or seal correctly, leading to drips.
If you notice any cracks or if the carafe is not fitting well, consider replacing it with a new one. Most coffee makers use standard-sized carafes, so you should be able to find a replacement that fits your model. Ensuring that the carafe is in good condition and properly aligned will help the drip stop mechanism work as intended and prevent unwanted drips.
Inspect the Drip Stop Mechanism
The drip stop mechanism controls the flow of coffee and is crucial for stopping drips. Over time, this part can become clogged with coffee grounds or get worn out. To inspect it, first, remove the drip stop part if your coffee maker allows for it. Check your coffee maker’s manual for instructions on how to remove this part safely.
Once you have removed the drip stop mechanism, look for any blockages or signs of damage. Coffee grounds or coffee residue might clog the mechanism and prevent it from working properly. Use a small brush or a soft cloth to clean the part thoroughly. If the drip stop mechanism is damaged, you may need to replace it with a new one.
After cleaning or replacing the drip stop mechanism, reassemble your coffee maker and test it to see if the problem is fixed. Regular inspection and cleaning of this part can help prevent future issues and ensure that your coffee maker functions smoothly.
Run a Cleaning Cycle
Many coffee makers have a cleaning cycle designed to remove coffee oils and residues that can affect performance. Running this cycle can help clear any blockages and keep your coffee maker in good condition. To start, make sure your coffee maker is unplugged and cooled down.
Next, prepare a cleaning solution. A common mixture is equal parts of water and white vinegar. Pour this mixture into the water reservoir of your coffee maker. Follow your coffee maker’s manual to start the cleaning cycle. This process usually involves running the solution through the coffee maker just like you would with regular water for brewing coffee.
After the cleaning cycle is complete, you should run a few cycles with just water to rinse out any remaining vinegar. This step is important to remove any vinegar taste from the coffee maker. Once the water runs clear and there is no more vinegar smell, your coffee maker should be clean and ready to use. Running regular cleaning cycles will help keep your coffee maker in top condition and ensure the drip stop feature works properly.
By following these steps, you can fix common drip stop problems and get your coffee maker working properly again. Regular cleaning and maintenance can help prevent these issues in the future.
Questions in Your Mind?
Is it safe to use vinegar to clean my coffee maker?
Yes, using vinegar is a safe and effective way to clean your coffee maker. It helps remove coffee oils and mineral deposits. Just make sure to rinse the coffee maker thoroughly with water after using vinegar to remove any lingering smell.
Can I use baking soda to clean my coffee maker?
Yes, baking soda is a good option for cleaning your coffee maker. Mix a small amount of baking soda with water and run it through the coffee maker to help remove stains and odors. Rinse thoroughly afterward.
Is it necessary to remove the drip stop mechanism for cleaning?
Not always. For most coffee makers, it’s enough to clean around the drip stop mechanism. However, if you suspect a blockage or damage, removing and cleaning the mechanism can help.
Can I use commercial coffee maker cleaners instead of vinegar?
Yes, you can use commercial coffee maker cleaners if you prefer. These products are designed specifically for cleaning coffee makers and can be effective at removing stains and build-up. Follow the manufacturer’s instructions for use.
Do I need to replace the carafe if it’s cracked?
Yes, it’s best to replace a cracked carafe. A damaged carafe may not sit properly on the warming plate and can cause leaks or drips.
Is it okay to use harsh chemicals to clean my coffee maker?
No, it’s not recommended to use harsh chemicals. They can damage your coffee maker and leave harmful residues. Stick to gentle cleaners like vinegar, baking soda, or commercial coffee maker cleaners.
Can I use tap water to clean my coffee maker?
Yes, you can use tap water for cleaning your coffee maker. However, if you have hard water, it might be better to use filtered or distilled water to avoid mineral build-up.
Do I need to clean the coffee maker after every use?
No, you don’t need to clean it after every use, but you should rinse and dry the removable parts regularly. A deep clean, using vinegar or a commercial cleaner, should be done every few weeks or as needed.
Is it normal for a coffee maker to drip after brewing?
A small amount of dripping after brewing is normal. However, if the dripping is excessive or continuous, it might indicate a problem with the drip stop mechanism or other parts of the coffee maker.
Can I fix a coffee maker that doesn’t stop dripping myself?
Yes, you can often fix a coffee maker that doesn’t stop dripping by cleaning the drip stop mechanism, carafe, or other parts. If the problem persists, consult the coffee maker’s manual or seek professional help.