As an Amazon Associate, I earn from qualifying purchases at no extra cost to you.
Easy Ways to Season Your Copper Pan
 ByZayyan
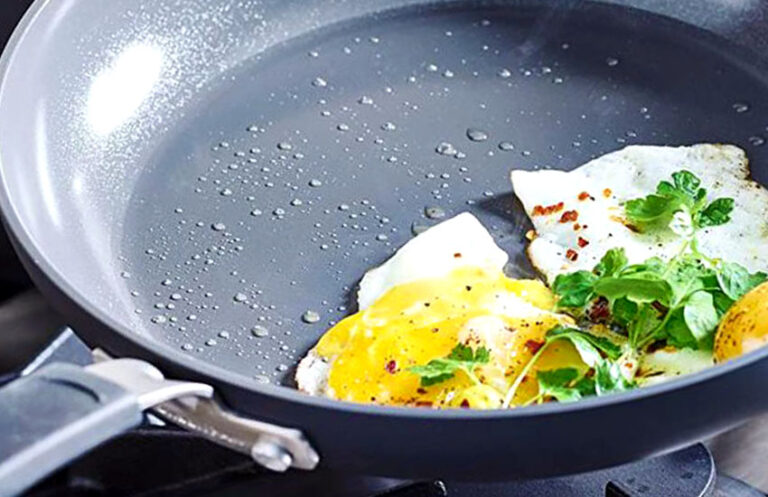
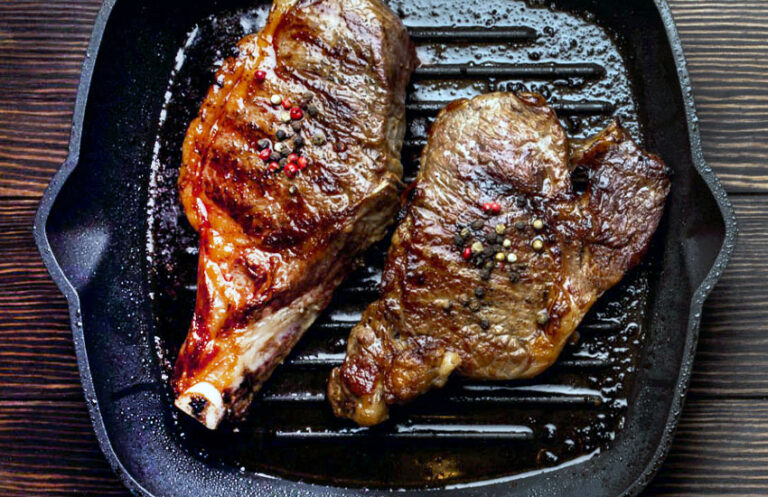
Seasoning a copper pan makes it work better and last longer. In this blog post, I will show you how to season your copper pan in easy steps. Seasoning helps keep food from sticking and protects the pan.
It’s a simple process that involves cleaning, heating, and applying oil. Follow these steps to make your copper pan ready for cooking delicious meals. Whether you are new to cooking or an experienced chef, seasoning your copper pan will improve your kitchen experience.

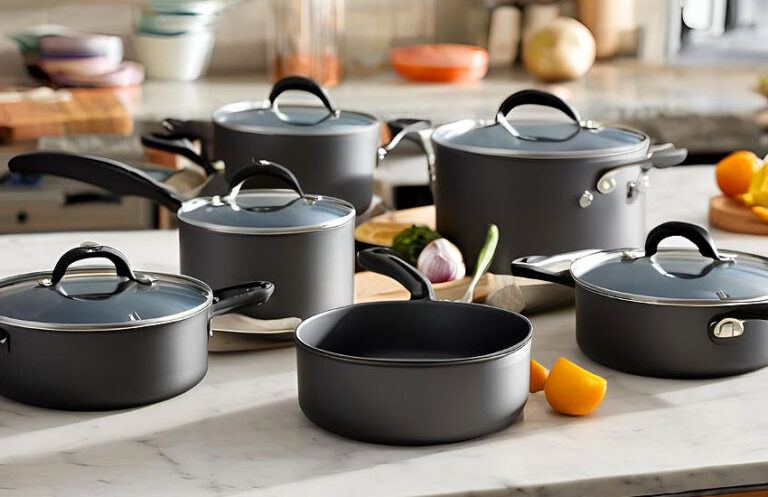
What You Need
- Copper Pan – Make sure it is clean and dry.
- Oil – Any cooking oil will do, like vegetable oil or olive oil.
- Salt – Regular table salt.
- Paper Towels – To wipe the pan.
- Stove – To heat the pan.
- Oven Mitts – To protect your hands from the heat.
Steps to Season Your Copper Pan
Step 1: Clean the Pan
First, you need to make sure your copper pan is very clean. This is important because you want to remove any dirt, dust, or leftover food that might be on the pan.
- Start with warm water: Fill your sink with warm water.
- Add soap: Add a few drops of dish soap to the water.
- Wash the pan: Use a soft sponge or cloth to gently scrub the entire inside of the pan. Make sure to clean every part, including the sides and the bottom.
- Rinse well: After scrubbing, rinse the pan with clean, warm water to wash away all the soap.
- Dry completely: Use a clean towel to dry the pan thoroughly. Make sure there is no water left, as the pan needs to be completely dry before you start seasoning it.
Step 2: Apply Oil
Now, it’s time to put some oil on the pan. The oil is what creates the non-stick layer that helps with cooking.
- Choose your oil: You can use vegetable oil, olive oil, or any other cooking oil you prefer.
- Pour the oil: Pour a small amount of oil into the pan. You don’t need much, just enough to cover the surface with a thin layer.
- Spread the oil: Take a paper towel and use it to spread the oil evenly all over the inside of the pan. Make sure to cover the bottom and the sides. The oil should coat the entire cooking surface in a thin, even layer.
Step 3: Heat the Pan
Heating the pan is a key step because it helps the oil bond to the surface of the copper pan.
- Place the pan on the stove: Put the pan on one of the burners of your stove.
- Set the heat to medium: Turn the burner to medium heat. You don’t want it too hot, just enough to heat the pan steadily.
- Watch the oil: Let the pan heat up. Keep an eye on it. You will know it’s ready when the oil starts to smoke a little bit. This usually takes about 10 to 15 minutes.
- Safety tip: Use oven mitts or a pot holder to handle the pan if it gets too hot.
Step 4: Cool Down
After heating, you need to let the pan cool down completely.
- Turn off the stove: Once the oil starts to smoke, turn off the heat.
- Let it sit: Leave the pan on the stove and let it cool down naturally. Do not try to cool it down quickly by putting it in water or in a cold place. Just let it cool at room temperature.
- Cooling time: This might take some time, so be patient. The oil needs to stay on the pan while it cools because this helps it bond to the copper surface.
Step 5: Wipe Off Excess Oil
When the pan is completely cool, you can remove any extra oil.
- Use a paper towel: Take a clean paper towel and gently wipe out any oil that is still in the pan.
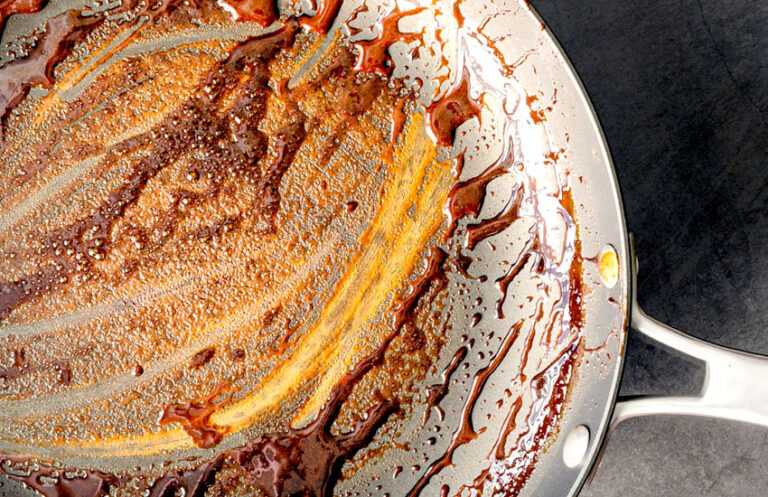
- Check the coating: The inside of your pan should have a light, shiny coating. This is the new non-stick layer created by the oil.
Step 6: Repeat
For the best results, you should season your pan more than once.
- Repeat the process: Go through the steps of applying oil, heating the pan, cooling it down, and wiping off the excess oil at least two more times.
- Why repeat?: Each time you season the pan, the non-stick layer gets stronger and better. This will make cooking easier and help your pan last longer.
Following these detailed steps will ensure that your copper pan is well-seasoned and ready for use. Happy cooking!
Tips for Maintaining Your Seasoned Copper Pan
Keeping your copper pan in good shape is important to make sure it cooks your food just right every time. Here are some easy tips to help you do just that:
- Clean with Care: After using your pan, wash it gently with warm water and a soft sponge. Avoid using harsh scrubbers or abrasive cleaners, as they can damage the seasoning.
- No Soap Needed: You don’t need to use soap every time you clean your pan. Just a simple rinse with water and a soft sponge will do the trick. Soap can wash away the seasoning, so it’s best to use it sparingly.
- Dry Thoroughly: After washing, make sure to dry your pan completely with a clean towel. Water left on the surface can cause spots or even rust over time.
- Reapply Oil: To keep your pan seasoned and ready for cooking, apply a thin layer of oil after each use. This helps maintain the non-stick coating and prevents rust.
- Use the Right Utensils: When cooking with your copper pan, use wooden or plastic utensils instead of metal ones. Metal utensils can scratch the seasoning and damage the pan.
- Store Properly: Store your copper pan in a dry place away from moisture. You can hang it up or place it in a cabinet with a paper towel between pans to prevent scratches.
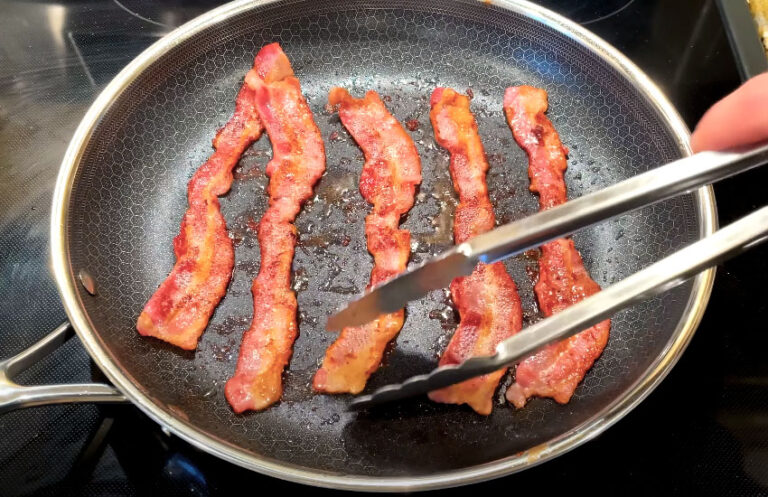
- Avoid High Heat: While copper pans are great conductors of heat, they can also get very hot. Avoid cooking over high heat for extended periods, as this can damage the seasoning and cause food to stick.
- Regular Use: The more you use your copper pan, the better it gets. Regular cooking helps build up the seasoning and improves its non-stick properties.
By following these easy tips, you can keep your seasoned copper pan in top condition for years to come.
Troubleshooting: Common Issues When Seasoning Your Copper Pan
Seasoning your copper pan is a great way to enhance its performance and make cooking a breeze. However, sometimes you may encounter issues during the seasoning process. Let’s explore some common problems and easy solutions to troubleshoot them:
Problem 1: Food sticking to the pan
- Possible Cause: If food is sticking to your copper pan even after seasoning, it could indicate that the seasoning layer is not adequately formed.
- Solution: Firstly, ensure that you have thoroughly cleaned and dried the pan before seasoning. Then, try re-seasoning the pan by applying a fresh layer of oil and heating it until it smokes slightly. This helps the oil bond better with the pan’s surface, creating a more effective non-stick coating.
Problem 2: Dull appearance of the pan
- Possible Cause: After seasoning, you may notice that your copper pan looks dull or lacks its usual shine.
- Solution: Don’t worry if your pan appears dull after seasoning. This is a natural result of the oil forming a thin layer on the pan’s surface. Continued use and proper care will gradually restore its shine over time.
Problem 3: Dark spots on the pan
- Possible Cause: Dark spots or uneven coloring may develop on the pan’s surface after seasoning.
- Solution: These dark spots are simply areas where the seasoning layer is stronger. They are not harmful and will typically even out with further use of the pan. Just keep cooking with your pan as usual, and over time, these spots will become less noticeable.
In troubleshooting any issues with your copper pan, patience is key. Remember that the seasoning process is not always immediate, and it may take several uses before you achieve the desired results.
FAQs
Can I use dish soap to clean my copper pan after seasoning?
It’s generally recommended to avoid using dish soap on a seasoned copper pan as it can strip away the protective seasoning layer. Instead, opt for gentle cleaning methods such as wiping with a paper towel or rinsing with warm water.
How often should I re-season my copper pan?
The frequency of re-seasoning depends on how frequently you use your pan and the condition of its seasoning. As a general guideline, you may need to re-season your pan every few months or whenever you notice food starting to stick.
Can I season a copper pan in the oven?
Yes, seasoning a copper pan in the oven is another effective method. Simply follow the same steps of applying oil, heating the pan, and allowing it to cool down in a preheated oven instead of on the stovetop.
Is it normal for my copper pan to change color after seasoning?
Yes, it’s normal for a copper pan to develop a deeper hue or change color slightly after seasoning. This is a natural part of the seasoning process and does not affect the pan’s performance.
Can I use high heat when seasoning my copper pan?
It’s best to use medium heat when seasoning your copper pan to prevent the oil from burning. High heat can cause the oil to smoke excessively and may result in uneven seasoning.
Can I season a copper pan that has a non-stick coating?
If your copper pan already has a non-stick coating, there’s no need to season it. The non-stick coating serves a similar purpose to seasoning by providing a slick surface for cooking.
How long does it take for the seasoning to set on my copper pan?
The seasoning on a copper pan typically sets within a few minutes after heating. However, allowing the pan to cool down completely ensures that the seasoning layer properly adheres to the surface.
What type of oil is best for seasoning a copper pan?
Any cooking oil with a high smoke point, such as vegetable oil, canola oil, or grapeseed oil, is suitable for seasoning a copper pan. Avoid using oils with low smoke points like butter or extra virgin olive oil, as they may burn during the seasoning process.
Can I season a copper pan that has become rusty?
If your copper pan has developed rust, it’s best to remove the rust before attempting to season it. Use a gentle abrasive like salt or a mixture of vinegar and baking soda to scrub away the rust, then proceed with the seasoning process.
How do I know when my copper pan needs re-seasoning?
Signs that your copper pan may need re-seasoning include food sticking to the surface, loss of shine or discoloration, or a decline in non-stick performance. If you notice any of these signs, it’s time to give your pan a fresh seasoning to restore its effectiveness.