As an Amazon Associate, I earn from qualifying purchases at no extra cost to you.
How to Clean Your Oven After a Fire Extinguisher: Easy Steps
 ByZayyan
When cooking, the unexpected can happen, and a fire can break out in your oven. This can lead to panic and concern for safety, but once the fire is out, you may be left with a messy cleanup, especially if you used a fire extinguisher. Knowing how to clean an oven after a fire extinguisher has been used is crucial for restoring it to a safe and usable condition. This blog post will guide you step by step through the cleaning process, ensuring your oven is clean, safe, and ready for your next culinary adventure.
Understanding the Aftermath of a Fire Extinguisher
Before diving into the cleaning process, it is essential to understand what happens after using a fire extinguisher. Fire extinguishers contain various agents designed to suppress flames, including dry chemical powders, foam, or even CO2. While effective in stopping the fire, these agents can leave behind residue that needs to be cleaned thoroughly.
Different types of fire extinguishers have distinct cleaning requirements. For example, dry chemical extinguishers leave a powdery residue that can be abrasive and cling to surfaces. Foam extinguishers, on the other hand, may leave a wet residue that can create additional mess. Understanding these differences can help you prepare for the cleaning process.
Once you know what type of fire extinguisher was used, it’s time to gather your cleaning supplies. You’ll need rubber gloves, masks, sponges, soft cloths, mild dish soap, baking soda, vinegar, and a bucket of warm water. These items will help you effectively clean the oven without damaging its surfaces.
Safety First: Ensuring Your Safety While Cleaning
Safety should always be your top priority when dealing with cleaning after a fire. Before you start cleaning, make sure the oven is completely cool. If the fire was significant, you should also check for any lingering heat in the oven itself. Allow it to cool down for at least an hour to prevent burns.
While cleaning, wear rubber gloves and a mask to protect yourself from inhaling any residue left behind by the extinguisher. Some chemical powders can be irritating to the skin or respiratory system. Additionally, ensure the area is well-ventilated. Open windows and doors to create a cross-breeze, allowing fresh air to circulate and helping to dissipate any lingering chemical odors.
Check for any signs of damage inside the oven. If you notice any electrical components that appear burnt or damaged, it’s essential to stop the cleaning process and consult a professional before proceeding. The safety of yourself and others is paramount, so don’t hesitate to reach out for help if needed.
How to Clean Your Oven After a Fire Extinguisher: Step-by-Step Guide
Step 1: Remove Loose Debris
The first step in cleaning your oven after a fire extinguisher is to remove any loose debris. Open the oven door and carefully inspect the interior. Use a dry cloth or paper towel to wipe away any large pieces of food, ash, or residue left from the fire extinguisher. Be gentle during this process, as you don’t want to spread any chemical residue further into the oven.
If there are any stubborn spots that won’t wipe away easily, you can use a spatula or plastic scraper to gently lift them off. Just be careful not to scratch the oven’s surface. It’s crucial to remove as much loose debris as possible before moving on to more thorough cleaning methods.
Step 2: Prepare a Cleaning Solution
Next, it’s time to prepare a cleaning solution. A mixture of warm water and mild dish soap works wonders for cleaning up the residues left by a fire extinguisher. Fill a bucket with warm water and add a few drops of dish soap, stirring it gently to create a soapy solution.
If you prefer a more natural cleaning solution, you can create a paste using baking soda and water. Combine three parts baking soda with one part water in a bowl to create a thick paste. This paste is excellent for tackling tougher stains and odors, making it a perfect choice for cleaning your oven.
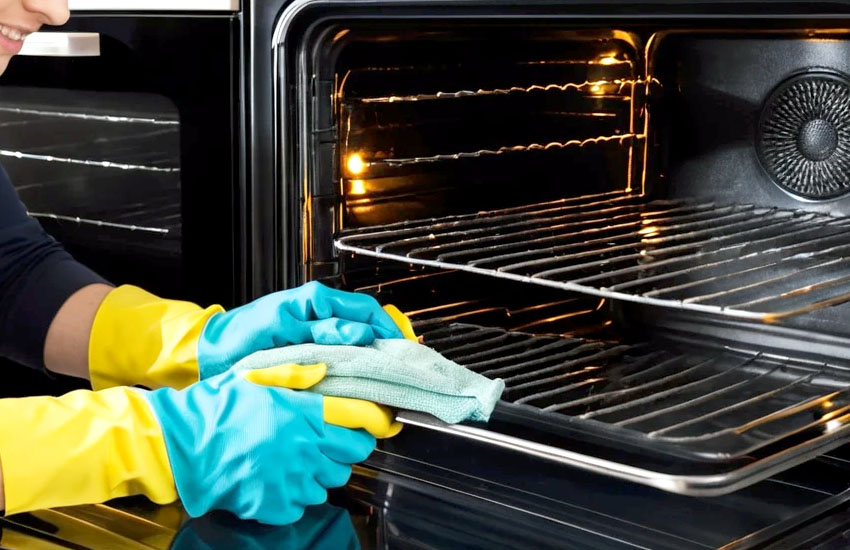
Step 3: Clean the Oven Interior
Now, you’re ready to clean the oven interior. Using a sponge or soft cloth, dip it into your soapy water or baking soda paste. Wipe down all surfaces inside the oven, including the walls, floor, and door. Start from the top and work your way down to prevent any drips from running onto clean surfaces.
Pay extra attention to any areas with heavy residue. For tougher spots, let the cleaning solution sit for a few minutes to break down the grime. You may need to apply a bit more pressure when scrubbing these areas, but be cautious not to damage the surface.
Step 4: Rinse and Dry
After you have thoroughly cleaned the oven’s interior, it’s time to rinse away the cleaning solution. Use a clean sponge or cloth dampened with warm water to wipe down all surfaces again, ensuring all soap or baking soda residue is removed. It’s crucial to leave no cleaning solution behind, as it can affect the flavor of your food during cooking.
Once rinsed, use a dry cloth or paper towels to wipe down the surfaces again, helping to remove any remaining moisture. This step is vital for preventing rust or other damage in the future. Allow the oven to air dry for a little while before closing the door to ensure no moisture is trapped inside.
Step 5: Clean the Oven Racks
While the interior is drying, don’t forget about the oven racks. If they were affected by the fire extinguisher, it’s essential to clean them thoroughly. Remove the racks from the oven and place them in the sink or bathtub. Fill it with warm, soapy water and allow them to soak for about 30 minutes.
After soaking, use a sponge or scrub brush to clean the racks, paying special attention to any stubborn spots. If the racks are still dirty after washing, you can sprinkle a bit of baking soda on them and scrub with a damp cloth. Once they are clean, rinse them with warm water and dry them with a clean towel.
Step 6: Final Touches
Once everything is clean and dry, it’s time for the final touches. Check for any lingering odors in the oven. If you notice any unpleasant smells, you can leave an open container of baking soda inside the oven for a few days. Baking soda is excellent for absorbing odors and will help freshen up the space.
Finally, reinsert the clean oven racks and give everything a final inspection. Ensure that there are no signs of residue left behind and that the oven is in good working order. Once you’re satisfied with the results, you can close the oven door and know that it is ready for your next cooking adventure.
Preventing Future Fires
Cleaning up after a fire extinguisher is essential, but preventing future fires is even more critical. Here are some tips to help you avoid kitchen fires in the future:
- Stay Attentive: Never leave your cooking unattended, especially when using high heat. Staying in the kitchen allows you to monitor the cooking process and address any issues quickly.
- Keep Flammable Items Away: Ensure that flammable items, such as dish towels, paper products, and oven mitts, are kept away from the stove and oven. This reduces the risk of these items catching fire.
- Use the Right Cookware: Make sure you use cookware that is suitable for your oven type. Avoid using non-oven-safe containers that can melt or catch fire.
- Regularly Clean Your Oven: Regular cleaning helps prevent grease buildup, which can ignite if left unchecked. Make it a habit to clean your oven after significant cooking sessions.
- Install Smoke Detectors: Ensure your kitchen has functioning smoke detectors. These devices can alert you to smoke and potential fires before they become uncontrollable.
- Have a Fire Extinguisher on Hand: Keep a fire extinguisher in your kitchen and ensure it is easily accessible. Familiarize yourself with how to use it properly.
- Know Your Oven: Familiarize yourself with your oven’s features and limitations. Different ovens may have unique safety guidelines that you should follow.
By following these preventive measures, you can significantly reduce the chances of a fire occurring in your kitchen, making it a safer space for you and your loved ones.
I hope this guide has provided you with a clear and comprehensive understanding of how to clean an oven after a fire extinguisher has been used. Following these steps will ensure that your oven is safe, clean, and ready for use again. Remember that safety should always be your priority when dealing with kitchen fires, so don’t hesitate to seek professional help if needed.
Are These Questions in Your Mind?
Is it safe to use my oven after a fire extinguisher has been used?
Using your oven after a fire extinguisher has been used is generally safe as long as you thoroughly clean it. Ensure all residues are removed before using the oven again.
Can I use commercial oven cleaners after a fire?
Yes, but make sure to read the instructions on the cleaner. Some commercial cleaners may react with fire extinguisher residues, so it’s better to clean thoroughly with soap and water first.
Do I need to replace my oven after using a fire extinguisher?
Not necessarily. Most ovens can be cleaned and restored. However, if you notice significant damage or if electrical components were affected, consult a professional.
Is it possible to remove all residue from the oven?
While you can remove most of the residue with thorough cleaning, some stubborn stains may require additional scrubbing or special cleaners to fully eliminate.
Can I use vinegar to clean my oven?
Yes, vinegar is an effective cleaning agent. You can use it along with baking soda to tackle tough stains and odors in your oven.
Do I need to call a professional to clean my oven?
If you feel uncomfortable cleaning your oven yourself or if there is significant damage, it’s a good idea to call a professional for help.
Is it safe to clean my oven while it’s warm?
No, it is best to wait until your oven has completely cooled before cleaning to avoid burns or other injuries.
Can I use a steel wool pad to scrub my oven?
It’s not recommended to use steel wool on most oven surfaces, as it can scratch and damage the finish. Stick to sponges or soft cloths for cleaning.
Do I need to clean the oven door separately?
Yes, you should clean the oven door separately to ensure there are no residues left. Use a suitable cleaner for glass if applicable.
Is it necessary to remove the oven racks before cleaning?
Yes, removing the oven racks allows you to clean the oven interior more thoroughly and prevents them from getting in the way while you work.