As an Amazon Associate, I earn from qualifying purchases at no extra cost to you.
Leaking Water Reservoir on Your Coffee Maker? Steps to Fix!
 ByZayyan
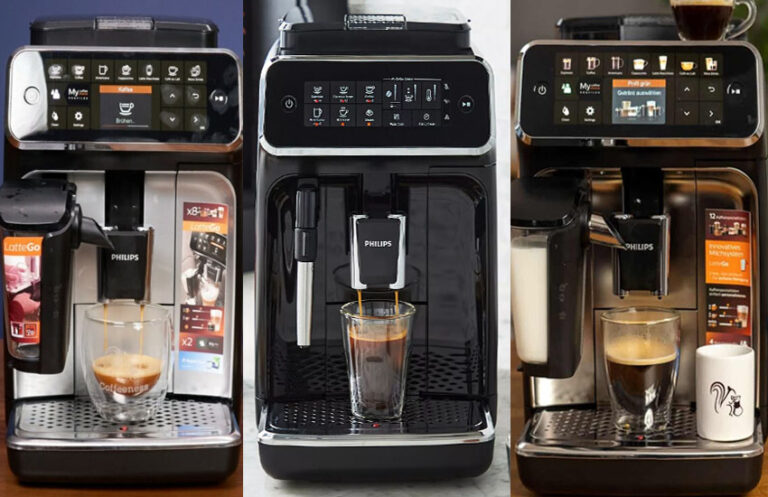
You’ve probably noticed water leaking from your coffee maker’s reservoir. It’s annoying and can make a mess. Don’t worry; you’re not alone. Many people face this problem. The good news is that fixing it can be simple.
First, unplug the coffee maker and let it cool down. Check the reservoir for any cracks or loose parts. If it’s loose, make sure it’s securely in place. Clean any mineral buildup inside the reservoir. Sometimes, leaks happen because of clogs. Try running a mix of water and vinegar through the coffee maker to clear them out. If these steps don’t help, you might need a new reservoir. Check your coffee maker’s manual for replacement options.
In this blog post, we’ll break down why your coffee maker might be leaking and what you can do to fix it. We’ll cover detailed steps to help you get your coffee maker back to working without any spills. Let’s get started and solve that leak together so you can enjoy your coffee hassle-free!
Common Causes of Leaking Water Reservoir on Your Coffee Maker
Cracks in the Reservoir
One common reason for a leaking water reservoir is cracks in the reservoir itself. If the reservoir has a crack or break, water can leak out. Look carefully at the reservoir for any signs of damage. If you see cracks or breaks, you might need to replace the reservoir.
Misaligned Reservoir
Sometimes, the reservoir might not be placed correctly on the coffee maker. If it’s not sitting properly, water can leak out. Make sure the reservoir is aligned correctly with the coffee maker. It should fit snugly without any gaps.
Worn Out Seals
The seals on the reservoir help to keep the water inside. Over time, these seals can wear out or become damaged. If the seals are not working properly, water might leak out. Check the seals around the reservoir for any signs of wear or damage. Replacing worn-out seals can help stop the leak.
Overfilled Reservoir
If you fill the reservoir beyond its maximum line, it can cause leaks. The extra water has nowhere to go and may spill out. Always check the maximum fill line on the reservoir and make sure not to exceed it.
Faulty Valve
The reservoir may have a valve that controls the flow of water. If this valve is not working correctly, it can cause leaks. Check the valve for any issues. If you find that the valve is faulty, you might need to replace it or have it repaired.
By checking these common issues, you can often find and fix the problem with your coffee maker’s leaking reservoir.
How to Fix a Leaking Water Reservoir on Your Coffee Maker
If your coffee maker’s water reservoir is leaking, it can be a hassle. But don’t worry; you can usually fix it by following some simple steps. Here’s how you can handle the problem, step-by-step.

1. Identify the Leak
The first thing you need to do is find out where the leak is coming from. To do this, place a dry cloth or towel under the coffee maker. This will help catch any water that leaks out. Next, carefully fill the water reservoir with water. Make sure to fill it to the level you usually use for brewing coffee. Watch closely for any water dripping or leaking from the reservoir.
Check all around the edges, the bottom, and any seams or joints where water might escape. Pay special attention to the area where the reservoir connects to the coffee maker. Sometimes, the leak might be small and hard to see, so you might need to let the water sit for a few minutes to see if it starts to drip. If you notice any water, make a note of where it is coming from.
Identifying the leak is the first step in fixing it. If you’re not sure where the leak is, you can also try placing some paper towels around the reservoir to see if they get wet. This can help you pinpoint the exact spot where the water is escaping.
2. Check for Cracks
Once you know where the leak is, you need to check the water reservoir for cracks or damage. Take the reservoir out of the coffee maker and inspect it carefully. Look closely at the entire surface, including the bottom and sides. Use a flashlight if necessary to see any small cracks or holes. Cracks can sometimes be very tiny and hard to spot, but even a small crack can cause a big leak.
If you find any cracks or holes, you might need to replace the reservoir. Most coffee makers have replacement parts available from the manufacturer or in appliance stores. Check your coffee maker’s manual or the manufacturer’s website for information on where to get a new reservoir. If the damage is severe, replacing the reservoir is usually the best solution.
However, if the cracks are very small, you might be able to fix them temporarily with a sealant designed for plastic. Follow the instructions on the sealant carefully and allow it to dry completely before using the coffee maker again.
3. Clean the Reservoir
Sometimes, leaks can be caused by build-up or debris inside the water reservoir. To clean it, remove the reservoir from the coffee maker. Wash it with warm, soapy water. Use a soft sponge or cloth to clean all parts of the reservoir. Avoid using anything abrasive that might scratch the surface. Rinse the reservoir thoroughly to make sure there is no soap left inside.
After rinsing, let the reservoir dry completely before putting it back in the coffee maker. You can also use a solution of equal parts water and white vinegar to help remove any mineral deposits or build-up that might be causing the leak.
Pour the solution into the reservoir, let it sit for a few minutes, then rinse it well with clean water. This cleaning step can help remove any residues that might be affecting the seal or causing the leak.
4. Inspect the Seals and Gaskets
Coffee makers often have seals or gaskets that help prevent leaks. These parts are usually made of rubber or silicone and are located around the areas where the reservoir connects to the coffee maker. Check these seals or gaskets for any signs of damage, such as cracks, tears, or wear.
If you find any issues, you may need to replace them. To do this, carefully remove the damaged seal or gasket and install a new one. Make sure you get the correct replacement part for your specific coffee maker model.
Check your coffee maker’s manual or the manufacturer’s website for the right parts. Once the new seal or gasket is in place, make sure it fits snugly and evenly. Properly installed seals and gaskets are crucial for preventing leaks, so take your time to ensure they are correctly positioned.
5. Reassemble and Test
After checking and cleaning everything, it’s time to put the water reservoir back in the coffee maker. Make sure it is properly aligned and seated in the correct position. Once it is securely in place, fill the reservoir with water again and run a test cycle without any coffee grounds.
This test will help you see if the leak has been fixed. Watch carefully during the cycle to make sure no water is dripping or leaking from the reservoir. If you see any leaks, double-check the areas you inspected earlier to make sure everything is in good condition and properly sealed.
If the reservoir still leaks, you might need to review each step again or consider replacing the reservoir or seals. Running a test cycle is important to ensure that your coffee maker is working correctly before you start using it again.
6. Regular Maintenance
To prevent future leaks, it’s important to keep your coffee maker clean and well-maintained. Regularly clean the water reservoir and other parts of the coffee maker according to the manufacturer’s instructions. This will help prevent build-up of coffee grounds, mineral deposits, and other debris that could lead to leaks.
Also, check the seals and gaskets periodically for signs of wear and replace them if necessary. Keeping your coffee maker in good condition can help you avoid leaks and ensure that it continues to work properly. By following these maintenance tips, you can extend the life of your coffee maker and enjoy your coffee without worrying about leaks.
I hope this guide helps you fix the leaking water reservoir on your coffee maker. By following these simple steps, you can stop the leaks and enjoy your coffee without any mess. Remember to check all parts carefully and make sure everything is in good condition. If you have any more questions or need help, feel free to ask. Enjoy your coffee!