As an Amazon Associate, I earn from qualifying purchases at no extra cost to you.
Whirlpool Dishwasher Error Code F8 E4: Fix It Like a Pro
 ByZayyan
Seeing a blinking light on your Whirlpool is a total nightmare. You just finished dinner and now there is a puddle on the floor. It is frustrating because you need this machine every day. You just want your kitchen back to normal without a huge repair bill.
The core solution involves clearing a blockage in the float switch or cleaning the overfill sensor deep inside the sump. You will need a 1/4 inch nut driver and a wet-dry vacuum to remove standing water first. Often a piece of glass or a toothpick jams the float. This prevents the machine from knowing the water level. Replacing the inlet valve is the next move if water keeps flowing.

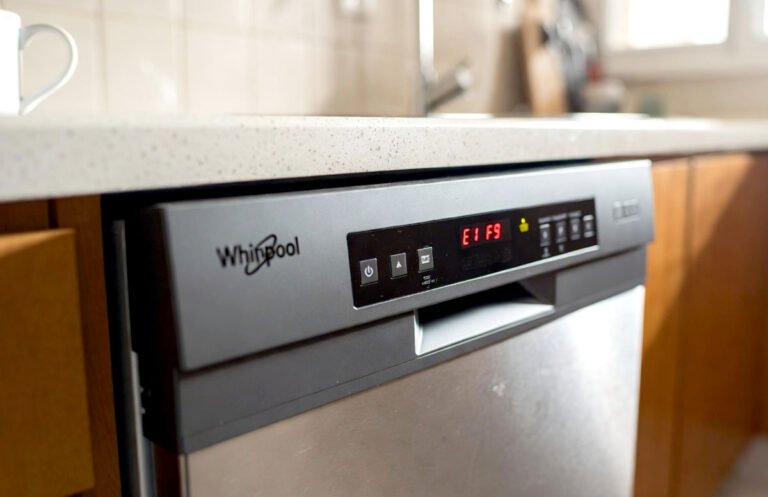
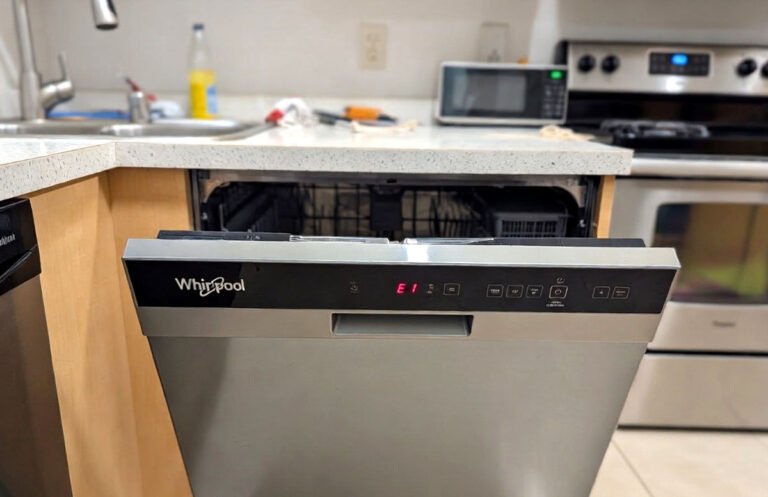
What Does the F8 E4 Error Mean on a Whirlpool Dishwasher?
This code means your dishwasher detected an overfill condition or a leak in the bottom tray. When the float switch triggers, the drain pump kicks into high gear. This safety feature protects your flooring from water damage. It also locks the controls until the sensor is dry again.
In my twenty years of repair work, I have seen many “ghost” errors caused by suds. If you use the wrong soap or the machine is not level, water sloshes wrongly. The sensor then trips even if there is no real flood. It is a simple mechanical misunderstanding between the float and the brain.
If you see actual water in the bottom pan, you have a genuine leak. This usually happens from a loose heater nut or a worn pump seal. You must remove the kickplate to see the truth. Do not ignore it because drips will eventually rot your subfloor. Fix it now to save money later.
- A stuck or dirty overfill float assembly.
- Excessive foam from using the wrong detergent.
- The dishwasher is not level on the floor.
- A leaking water inlet valve that stays open.
- A hole or tear in the spray arm.
- A loose nut on the heating element.
Whirlpool Dishwasher Error Code F8 E4: The Step by Step Repair Guide
Clear the Standing Water First
Start by grabbing a shop vac because you cannot work in a swamp. Open the door and pull out the bottom rack. If water is sitting in the bottom, the sensors stay triggered. Suck out every last drop of moisture from the sump area.
Once the tub is dry, look at the plastic float in the front corner. This piece must move up and down freely with a click. If it feels stuck, a piece of debris is likely wedged underneath. Use a flashlight to peek into that tight gap for glass.
Go ahead and kill the power at the circuit breaker for ten minutes. This allows the control board to discharge and reset the logic. Sometimes the error stays in memory even after the fix. A hard reset is the easiest way to clear the computer.
- Use a shop vac to clear the sump.
- Inspect the float for trapped food or glass.
- Manually lift the float to check movement.
- Kill the power at the breaker to reset.
Inspect the Float Switch Mechanism
You need to get under the machine to see the electrical side. Use a 1/4 inch nut driver to remove the kickplate screws. Look for the small microswitch located directly beneath the float. It is usually a small black or gray plastic box.
Check the wiring harness for any signs of corrosion or moisture. If the unit leaked, the connectors might be tarnished. This sends a false signal to the control board. Carefully unplug the wires and clean them with rubbing alcohol.
You can test the switch if you have a multimeter. It should show continuity when the float is down. It should show an open circuit when lifted. If the switch stays closed, the internal spring is broken. This part is very cheap to replace.
- Remove the kickplate with a nut driver.
- Locate the microswitch under the float assembly.
- Check for corrosion on the wire terminals.
- Test the switch for continuity with a meter.
Check the Water Inlet Valve
The inlet valve is on the left side behind the kickplate. If sediment gets inside, it might not close all the way. This causes a slow trickle even when the power is off. Eventually, the water trips the F8 E4 error code.
Look for drips coming from the brass fitting or plastic body. If you see water on the frame, the housing is cracked. You must replace it immediately to avoid a flood. This is a common failure point in older machines.
Turn off the water supply under the sink first. Disconnect the wires and unscrew the water supply line. Have a towel ready for the small spill. Slide the old valve out and pop the new one in. Do not cross-thread the fitting.
- Check the valve for leaks or cracks.
- Turn off the water supply under the sink.
- Disconnect the electrical leads and water line.
- Install a new valve if sediment is suspected.
Verify the Machine is Level
A dishwasher that leans is a recipe for this error code. When the machine is tilted, water pools in one corner. This triggers the float switch way too early. It is a trick that fools the sensor into thinking it is full.
Place a carpenter’s level across the top edge of the tub. Check it side-to-side and front-to-back for balance. If it is off, you must adjust the leveling legs. These are at the bottom corners and turn with pliers.
The back legs usually have a long screw in the front. The front legs are just threaded bolts. Raise or lower them until the bubble is centered. This small adjustment often fixes random leak codes. It keeps the water where it belongs.
- Place a level on the top tub.
- Check both horizontal and vertical alignment.
- Adjust the front legs with your pliers.
- Check the rear leveling screw for balance.
Inspect the Drain Loop and Sump
Sometimes the error is caused by backflow from your sink. If your drain hose has no high loop, water flows backward. This extra water triggers the overfill sensor. Check under your sink to see if the hose is high.
Go back inside and remove the circular filter by twisting it. Look into the sump hole for any hidden obstructions. If the pump is slow, the water level stays too high. I often find bits of labels stuck there.
Use a mirror to look into the drain port for blocks. If the path is clear but draining is slow, the pump is failing. A healthy pump hums smoothly while a dying one growls. Replacing the pump is messy but very doable.
- Ensure the drain hose has a high loop.
- Twist off the filter to check debris.
- Clear the pump impeller of any blocks.
- Listen for unusual noises from the pump.
Dry Out the Bottom Tray
The most important step is drying the bottom plastic tray. Most Whirlpool models have a drip pan at the very bottom. There is a small sensor there that detects moisture. Even a tablespoon of water will shut it down.
Take a hair dryer on a cool setting for fifteen minutes. You need to evaporate any moisture lingering around the sensors. If you skip this, the code will come back immediately. The entire base pan has to be dry.
Wipe the area with a clean rag to remove soap. Soap holds moisture and can cause the sensor to trip again. Put the kickplate back on and run a test cycle. Watch closely with a flashlight for any new drips.
- Use a hair dryer to evaporate moisture.
- Ensure the drip pan float is dry.
- Wipe away any soap or sludge residue.
- Run a test cycle and watch leaks.
How Can I Prevent the F8 E4 Code From Returning?
Prevention starts with using the right amount of soap. I see many people use too much liquid gel. This creates massive foam that floats into the sensors. Stick to high-quality pods to keep the water level accurate and manageable.
You must also clean your filters every single month. When filters are clogged, the pump works twice as hard. This causes water levels to fluctuate and trip the float. A clean filter ensures a smooth flow of water every time.
Check your spray arms for cracks or clogged holes regularly. If an arm splits, it shoots water at the door seal. This rogue spray finds its way into the base pan. A quick visual check saves you from a major repair.
- Only use high-efficiency dishwasher detergent pods.
- Clean the mesh filter under the sink.
- Run a cleaning cycle with vinegar monthly.
- Check spray arms for cracks or blocks.
- Ensure no dishes block the detergent door.
- Keep the drain hose secured high up.
Final Thoughts
An F8 E4 error is a common hurdle for Whirlpool owners. It is usually just a matter of clearing debris. You have the skills to handle this job yourself. Take a deep breath and grab your tools today. You will feel like a kitchen hero once it runs.
| Steps | Difficulty Level | Parts Needed | Pro Tip |
| Clear Water | Low | Shop Vac, Sponge | Get the sump bone dry first. |
| Test Switch | Medium | Multimeter, Driver | Listen for the click when lifting. |
| Replace Valve | Medium | New Valve, Pliers | Hand-tighten the brass fitting first. |
| Leveling | Low | Carpenter’s Level | Adjust legs while the machine is empty. |
Frequently Asked Questions (FAQs)
Is it safe to run the dishwasher with this code?
It is not safe to run the machine with this code active. The F8 E4 indicates a flood risk or a real leak. The drain pump will run constantly which can damage the motor. You should cut the power and fix the problem before trying again.
Can I reset the code by just unplugging it?
Unplugging it might clear a glitch but it rarely fixes the root. If water is still in the base, the code returns quickly. The sensor is a physical switch that stays active while wet. You must dry the base pan for a real reset.
Do I need to pull the dishwasher out of the cabinet?
You usually do not need to pull the machine out. Most parts are accessible behind the lower kickplate panel. This includes the valve, the switch, and the pump. This saves you from moving the heavy unit across your floor and scratching it.
Is it common for suds to cause this error?
Yes, suds are a leading cause of this specific error code. If you use hand soap by mistake, foam trips the sensor. You can add vegetable oil to the tub to kill the suds. Then run a drain cycle to clear the mess out.
Can a clogged drain hose trigger the F8 E4?
A clogged hose keeps water in the tub too long. This high water level trips the overfill float switch. Check your garbage disposal for blocks if it was recently installed. Make sure the hose has no kinks behind the machine or sink.
Do I need specialized tools to fix this?
You only need basic tools for most of these steps. A 1/4 inch nut driver and an adjustable wrench are the main needs. A multimeter helps test the switch but is not always required. Most fixes are found with a good flashlight.
Is the float switch expensive to replace?
The float switch is one of the cheapest parts you can buy. It usually costs under thirty dollars at most appliance stores. Replacing it yourself saves you a massive service fee. It is a very high-value repair for a beginner DIYer.
Can a leaking spray arm cause this problem?
A cracked spray arm shoots water directly at the door seams. This water leaks into the bottom tray and trips the sensor. Inspect the plastic seams of the arms for any small splits. Replacing a spray arm takes only a few seconds.