
As an Amazon Associate, I earn from qualifying purchases at no extra cost to you.
Whirlpool Dishwasher Error Code E1 F9: Fix It Now Like a Pro
 ByZayyan
I spent three hours last Tuesday kneeling in a puddle of grey water. My client’s Whirlpool kicked out the E1 F9 code mid-cycle. The kitchen smelled like a swamp. I knew exactly which hidden drain flap was sticking before I even pulled my screwdriver out.
To fix this, focus on the drainage path and pressure switch. Most people think the pump is dead. It is usually just grease in the check valve or a kinked hose. You need a Torx T15 driver and a wet-dry vacuum. Clear the lines and reset the board to finish the job.
What is the Whirlpool Dishwasher Error Code E1 F9?
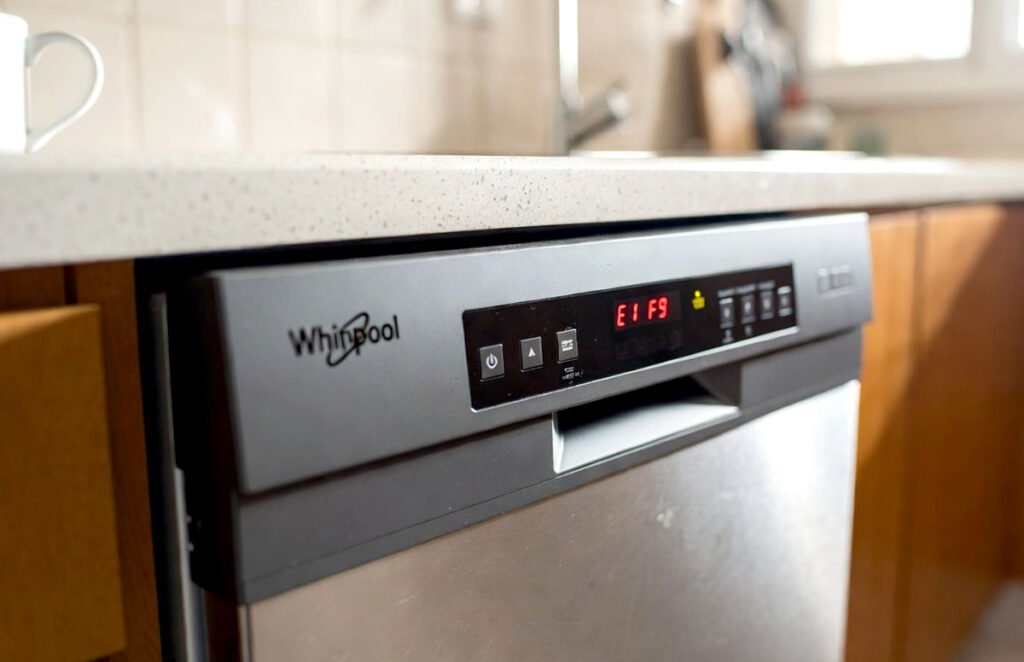
The E1 F9 code means your dishwasher cannot drain fast enough. I have fixed these units for twenty years. This happens when water stays in the basin after the pump finishes. The sensors are very sensitive to any resistance. If the water level stays high, the control board shuts down.
This error usually points to a mechanical block. It is rarely a total electrical failure. The system detects weight on the bottom of the tub. It is a safety feature to prevent floor flooding. You might hear the pump buzzing. This means the motor is trying to work but is blocked.
Think of it like a clogged straw. The suction is there, but nothing moves. The E1 F9 is triggered by a long drain time. Clearing the path usually makes the code vanish. Your dishes will stop sitting in a pool of filth. You just need to find the restriction.
- A clogged garbage disposal knockout plug.
- Heavy grease buildup inside the drain hose.
- A stuck check valve at the pump outlet.
- A sagging high-loop under your sink.
- Popcorn kernels stuck in the chopper blade.
- A faulty pressure switch sensing fake water.
Whirlpool Dishwasher Error Code E1 F9: The Repair Guide
Clear the Sump and Filter Assembly
Pull out the bottom rack and set it aside. Find the circular plastic screen at the bottom. Twist it counter-clockwise to unlock it. Reach into the hole and feel for glass or pits. Small items dive deep into the sump. They block the intake where water exits.
Use a sponge to suck out standing water. You must see the bottom of the sump. Check the mesh for slimy film or calcium. This buildup restricts the flow of water. Use an old toothbrush and hot soapy water. Scrub it until the filter looks brand new.
Grab a flashlight and look into the port. Check if the impeller is visible. Look for hair or string wrapped around it. This slows the motor down. If the sump is clear, the problem is deeper. This step rules out the easy stuff first. Never skip the basic cleaning.
- Remove the lower dish rack.
- Twist and clean the fine filter.
- Sponge out all standing water.
- Inspect the intake for debris.
Inspect the Drain Hose Connections
Go under the sink to find the hose. It connects to the disposal or tailpiece. This is a common spot for clogs. Use pliers to slide the tension clamp. Pull the hose off the plastic nipple. Keep a bucket ready for trapped water. It will pour out fast.
Look inside the hole on the disposal. Check for a plug of gunk there. If the disposal is new, check the knockout. A forgotten plug causes an instant E1 F9. Use a screwdriver to poke through it. Make sure the hole is completely open. Clear any sludge inside.
Check the height of the drain hose. It must follow a high loop pattern. Fasten it high against the cabinet top. This stops sink water from flowing backward. Gravity will win if the hose sags. The dishwasher cannot push water uphill easily. This simple fix works wonders.
- Disconnect the hose from the disposal.
- Verify the knockout plug is gone.
- Clear sludge from the hose end.
- Secure the hose in a high loop.
Check the External Drain Linkage
Get down on the floor now. Remove the kickplate with a T15 driver. Look for the black or clear hose. It leaves the pump at the bottom. Check for sharp bends or pinches. Dishwasher legs can sometimes crush the hose. The machine might have shifted.
Trace the hose to the back wall. Ensure there are no kinks present. Replace the hose if it looks collapsed. The pump cannot fight physical resistance. Heat can sometimes soften the plastic hose. It then folds over on itself easily. A straight path is required.
Squeeze the hose to find hard lumps. You might feel a trapped bone. Massage it loose or flush it out. Use a garden hose for a flush. This is cheaper than a new pump. Take your time with this inspection. Pros always check the hose first.
- Remove the kickplate with a T15.
- Check for kinks under the base.
- Inspect the hose for heat damage.
- Squeeze the hose for internal lumps.
Test the Drain Pump Motor
Look at the small pump motor now. It sits on the sump assembly side. It has two wires plugged in. You remove it with a quarter-turn. Check the wires for any burn marks. Loose connections will stop the power. Twist the pump off to see the blades.
The impeller should spin with a notch. Feel the magnets inside the motor work. Look for toothpicks jammed in the blades. Clear out any debris you find. Make sure the motor is not seized. A broken impeller triggers the E1 F9. It must spin freely to work.
Use a multimeter to test for continuity. Set the meter to the ohms setting. Look for 15 to 40 ohms. This means the electrical windings are good. If the meter shows OL, replace it. The motor is dead at that point. This gives you a clear answer.
- Unplug the dishwasher before you start.
- Twist the pump motor to remove.
- Clear debris from the impeller blades.
- Test the windings with a multimeter.
Clean the Check Valve Flap
Find the rubber check valve flap. It is inside the sump drain port. It stops water from flowing back in. Grease can make this flap get stuck. If it stays shut, water stays inside. The pump spins but nothing happens. Use your finger to move it.
Wiggle the flap to check for sticking. It should move back and forth easily. Use vinegar on a rag for cleaning. Wipe away all the gummy film. The rubber must be smooth and flexible. Sometimes chemicals make the rubber swell up. If it is warped, replace it.
A sticky valve is a silent killer. It looks like a big mechanical failure. It is actually just a tiny flap. Check for seeds behind the rubber. These can prop the valve shut. Reassemble everything once it is moving. This detail is often the real fix.
- Locate the flap in the sump.
- Check for grease or sticky film.
- Clean the flap with white vinegar.
- Replace the valve if it is warped.
Reset the Main Control Board
You must clear the computer memory now. Tell the machine the block is gone. Dishwashers remember old error codes often. Go to your breaker box and flip it. Leave the power off for ten minutes. This allows the capacitors to drain.
Press the buttons while the power is off. This drains any leftover energy quickly. Flip the breaker back to on. The board will run a self-check now. The E1 F9 code should disappear. Use a 1-2-3 button sequence if needed. This enters the diagnostic test mode.
Watch the first cycle very closely. Listen for water moving at the sink. You want a loud whoosh sound. This means the pump is working well. If the code stays away, you won. You saved a lot of money today. You fixed it like a true pro.
- Flip the breaker for ten minutes.
- Press buttons to drain residual power.
- Run the 1-2-3 diagnostic sequence.
- Listen for a strong drain flow.
How Can I Prevent the E1 F9 Error From Returning?
Do not use your dishwasher as a disposal. Modern machines use very little water now. They cannot handle big chunks of food. Always scrape your plates very well first. You do not need to rinse them. Just keep the big solids out. This protects the sump and filter.
Use high-quality detergent every single time. Cheap soap has fillers that clog lines. This creates a sludge inside the hose. The sludge makes the check valve sticky. I recommend using a cleaning tablet monthly. Run it on a high-heat cycle. This melts away all the fat.
Check your garbage disposal often as well. The dishwasher drains right into it. A sink backup will affect the machine. Run the disposal before you start a wash. This clears the path for the pump. It keeps the motor from working too hard. Your machine will last much longer.
- Scrape all food into the trash.
- Use high-quality detergent pods only.
- Run a monthly cleaning cycle tablet.
- Check the disposal before every wash.
- Clean the filter every two weeks.
- Keep the drain hose looped high.
Final Thoughts
A broken dishwasher is a huge pain. You now have the skills to fix it. Most errors are just simple clogs. You do not need a new machine. Take your time and be patient. Follow the steps and check the hose. You will have clean dishes again tonight. You did a great job today. Your kitchen is back in order now.
| Steps | Difficulty Level | Parts Needed | Pro Tip |
| Sump Clearing | Low | None | Use a bright headlamp. |
| Hose Inspection | Medium | Pliers | Check the high loop height. |
| Pump Testing | High | Multimeter | Look for 15-40 ohms. |
| Control Reset | Low | None | Wait 10 full minutes. |
Frequently Asked Questions (FAQs)
Is it expensive to replace a Whirlpool drain pump?
A new drain pump is not very expensive. The part usually costs under eighty dollars. If you do it yourself, you save labor. Most pros charge a lot for this. It is a very simple part to swap. You can find them online easily.
Can I use liquid plumr in my dishwasher?
Never put drain cleaner in a dishwasher. The chemicals are too harsh for seals. They will melt the plastic parts inside. They also create very dangerous toxic fumes. Stick to manual cleaning or white vinegar. Safety is always the most important thing.
Do I need special tools to fix an E1 F9 error?
You only need a few basic tools. A T15 Torx driver is a must. You also need some standard pliers. A multimeter helps but is not required. Most clogs are found with just your eyes. You likely have these in your house.
Is it normal for some water to stay in the filter?
A little bit of water is normal. It stays in the sump to keep seals moist. This prevents the rubber from cracking over time. If the water covers the floor, that is bad. Dirty water is also a sign of trouble. Just a cup is fine.
Can a dirty filter cause the E1 F9 code?
A dirty filter is the most common cause. It stops water from reaching the pump. The pump then runs too long and fails. This triggers the error code on the screen. Clean your filter every two weeks. It only takes a minute to do.
Do I have to pull the dishwasher out of the cabinet?
Usually, you can stay on the floor. Most parts are behind the bottom kickplate. You can reach the pump and hose there. Only pull it out for a deep kink. This saves a lot of heavy lifting. Most repairs happen from the front.
Is the E1 F9 error code the same as F9 E1?
Yes, they are the exact same thing. Different models show the letters in different orders. Both mean the machine is draining too slowly. The logic in the board is the same. Follow the same repair steps for both. It is just a display difference.
Can my garbage disposal be the cause of this?
The disposal is a very frequent culprit here. If it is clogged, the dishwasher fails. Water cannot exit the hose into the sink. Check the disposal for a blockage first. It is the easiest thing to check. Always start there before taking things apart.


