As an Amazon Associate, I earn from qualifying purchases at no extra cost to you.
Error Code on Your Coffee Maker? How to Fix It!
 ByZayyan
You might see an error code on your coffee maker, and it can be confusing. This error code usually means something’s wrong with the machine. It might be a small issue, like a part that’s not in place, or something more serious. Don’t worry—most problems are easy to fix!
In this article, we’ll help you understand what the error code means and show you simple steps to solve it. By following these tips, you’ll get your coffee maker back in working order quickly. So, let’s dive in and sort out that error code!

Common Coffee Maker Error Codes
Error Code 1: “E1”
If you see “E1” on your coffee maker, it usually means there’s a problem with the temperature. The coffee maker might be too hot or too cold. First, check if the water reservoir is in the right place. If it’s not seated properly, fix it and try again. If the problem continues, turn off the machine, let it cool down, and then restart it.
Error Code 2: “E2”
The “E2” error code often shows up when there is a problem with the water level sensor. This means the machine is not detecting the water correctly. To fix this, make sure the water tank is filled to the right level and properly attached. Also, check if there’s any blockage in the water lines.
Error Code 3: “E3”
When you see “E3,” it usually means there is a problem with the heating element. The coffee maker might not be heating up properly. Try turning off the machine and unplugging it for a few minutes. Then, plug it back in and see if the error goes away. If it doesn’t, you may need to contact a technician.
Error Code 4: “E4”
The “E4” code often appears when there’s an issue with the brew basket. It might not be closed or in place correctly. Check the brew basket and ensure it is properly inserted and locked. Make sure the filter and coffee grounds are not blocking the basket.
Error Code 5: “E5”
If you see “E5,” it might be a sign that there’s an issue with the water flow. This could be due to a clogged water filter or a blockage in the water pipes. Clean or replace the water filter and check for any blockages. Ensure the water reservoir is filled correctly.
By understanding these common error codes, you can troubleshoot and fix issues with your coffee maker more easily.
How to Fix Coffee Maker Error Codes

1. Fixing “E1” – Temperature Issues
When you see “E1” on your coffee maker, it means there’s a problem with the temperature. This error often happens when the machine is either too hot or too cold. To fix this, first, check if the water tank is properly placed.
Remove the water tank and make sure it is not misaligned or tilted. Place it back carefully, making sure it fits snugly in its position. If the tank is correctly placed, but the error persists, turn off the coffee maker.
Unplug it from the power source and let it cool down for about 15-20 minutes. This cooling period helps reset the internal temperature sensors. After it has cooled down, plug it back in and turn it on. If the “E1” code is still showing, there may be a problem with the temperature sensors or heating element inside the coffee maker.
In this case, you might need to consult the coffee maker’s user manual for specific instructions or contact the manufacturer’s customer support for help. Sometimes, internal components need professional repair or replacement, which is best handled by an expert.
2. Fixing “E2” – Water Level Sensor Problems
If you see the error code “E2,” it usually means there is a problem with the water level sensor. This sensor helps the coffee maker know how much water is in the tank. To start fixing this issue, first, make sure the water tank is filled to the correct level.
Look for a line inside the tank that indicates the maximum water level. Fill the tank up to this line. Next, make sure the water tank is properly positioned on the coffee maker. It should be placed evenly and securely.
If the tank is not seated correctly, the sensor might not detect the water level properly. Remove the tank and check for any debris or blockages that could be interfering with the sensor.
Clean the area around the sensor with a damp cloth to remove any dust or residue. Reattach the tank and try using the coffee maker again. If the error code remains, you might need to clean the entire water reservoir or replace it if it’s damaged.
Also, refer to the coffee maker’s manual for more specific cleaning instructions or troubleshooting tips.
3. Fixing “E3” – Heating Element Issues
The “E3” error code indicates there is a problem with the heating element, which is responsible for heating the water. To address this issue, start by turning off the coffee maker and unplugging it from the wall.
Let it sit unplugged for about 10-15 minutes. This can help reset the heating element and allow any excess heat to dissipate. After the waiting period, plug the coffee maker back in and turn it on.
Check if the “E3” code has disappeared. If the error code continues to appear, the heating element might be malfunctioning. In this case, you may need to have it checked or replaced by a professional.
Sometimes, cleaning the area around the heating element can help if there is any build-up of coffee residue or other debris. Use a soft cloth or sponge to gently clean the area, but avoid using harsh chemicals.
If cleaning doesn’t solve the issue, consult the user manual for further guidance or contact customer support for repair options.
4. Fixing “E4” – Brew Basket Issues
When your coffee maker shows “E4,” it’s often due to an issue with the brew basket. The brew basket is where you place the coffee filter and coffee grounds. To fix this problem, first, check if the brew basket is properly inserted.
Remove the brew basket and inspect it for any coffee grounds or debris that might be blocking it. Clean the basket thoroughly with warm water and mild soap. Make sure there are no cracks or damage on the basket that could affect its performance.
Once the basket is clean, place it back into the coffee maker. Ensure it clicks into place and is properly aligned. If the brew basket still does not fit correctly or the error code persists, check if the filter you are using is the correct size and type for your coffee maker.
Using the wrong filter can sometimes cause issues. If the problem continues, refer to the coffee maker’s manual for specific troubleshooting tips or contact customer support for further assistance.
5. Fixing “E5” – Water Flow Problems
An “E5” error code usually means there is a problem with the water flow. This can be due to a clogged water filter or a blockage in the water pipes. To start fixing this, first, check the water filter. Remove it from the coffee maker and inspect it for any dirt or debris.
Clean the filter with warm water and a mild detergent, then rinse it thoroughly. If the filter is old or damaged, consider replacing it with a new one. Next, check the water reservoir. Make sure it is filled to the correct level and that there are no blockages in the reservoir or water pipes.
Sometimes, air bubbles or mineral deposits can cause blockages. Running a cleaning cycle with a mixture of water and vinegar can help clear out any build-up in the pipes.
Follow the instructions in your coffee maker’s manual for performing a cleaning cycle. If the issue is not resolved, there might be a more serious problem with the water flow system, and you may need to seek help from a technician or customer support.
I hope this guide helps you understand and fix the error code on your coffee maker. Remember, it’s often a simple issue that can be solved with a bit of patience. If you follow the steps and tips provided, you should be back to enjoying your coffee without any trouble. Happy brewing!
Preventing Future Error Codes
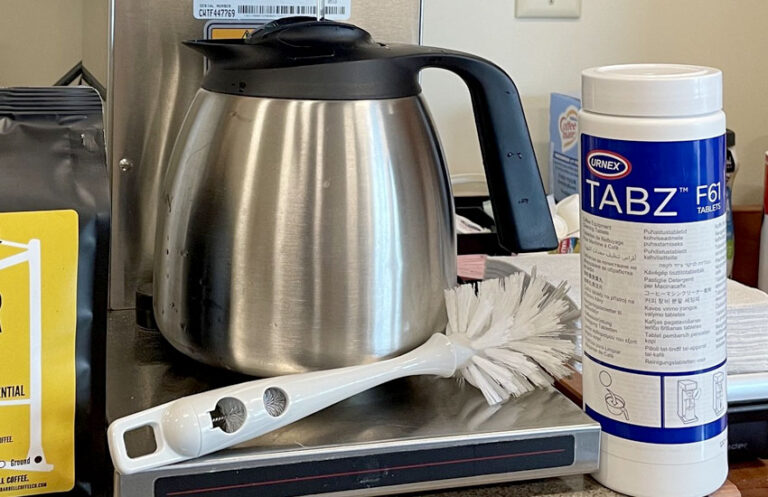
Regular Cleaning
To avoid error codes on your coffee maker, one of the most important things you can do is clean it regularly. Make sure to wash the water tank, brew basket, and filter after each use. Use warm water and a mild soap to remove any coffee grounds or stains.
Let these parts dry completely before putting them back on the machine. Periodically, clean the coffee maker’s exterior with a damp cloth to remove dust and spills. Keeping your coffee maker clean helps prevent blockages and keeps it running smoothly.
Descaling the Machine
Another important step is descaling your coffee maker. Descaling removes mineral build-up from inside the machine. Minerals from water can create deposits over time, which might cause error codes. To descale your coffee maker, use a mixture of water and white vinegar.
Fill the water tank with equal parts water and vinegar. Run a brewing cycle without coffee grounds to let the mixture clean inside the machine. After the cycle, run a few cycles with just water to rinse out any vinegar. This process helps keep your coffee maker free of mineral build-up and working properly.
Checking for Blockages
Regularly check for any blockages that could affect the coffee maker’s performance. Make sure the water lines and filter are not clogged with coffee grounds or other debris. If you notice any build-up, clean the affected parts thoroughly.
Also, ensure that the water tank is properly seated and there are no leaks or spills around the machine. Checking for and fixing blockages early can prevent many common error codes.
Using the Right Water
Use clean, filtered water in your coffee maker. Tap water with a lot of minerals can cause build-up and lead to error codes. Filtering your water can reduce mineral content and help your coffee maker last longer. Always fill the water tank to the recommended level and avoid using water that is too hot or too cold.
By following these simple steps, you can help prevent future error codes and keep your coffee maker working well.